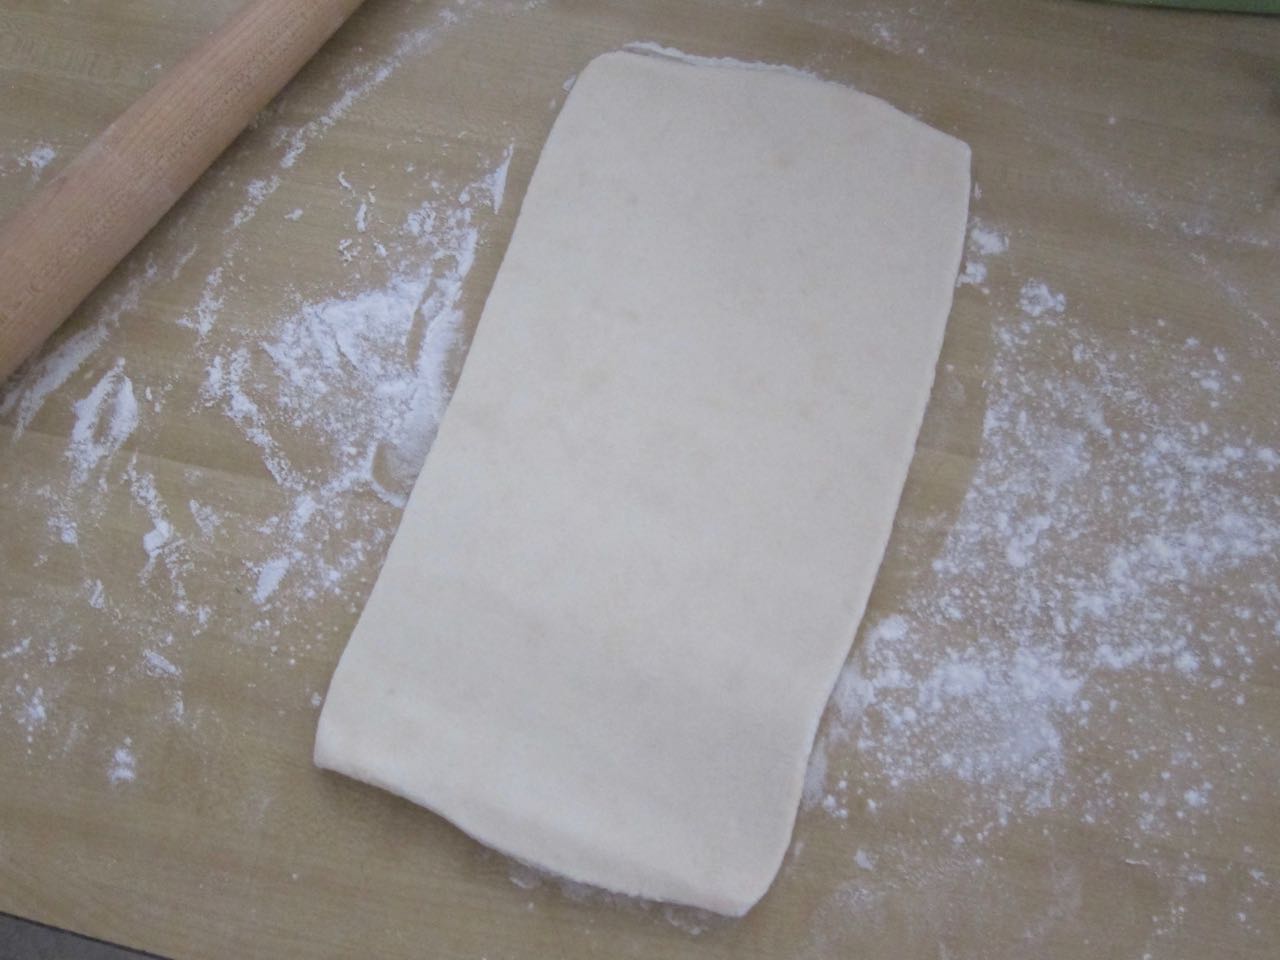
• Home
    • Recipes
    • The Roast Chicken Project
    • Allie Dreams of Cake
    • Sunday Suppers
  • Travel
  • About
Menu

Tea and Fog

Street Address
City, State, Zip
Phone Number

Your Custom Text Here

Tea and Fog

  • Home
  • Recipes
    • Recipes
    • The Roast Chicken Project
    • Allie Dreams of Cake
    • Sunday Suppers
  • Travel
  • About

Stone Fruit Pot Pie

August 25, 2017 Allie
Stone Fruit Pot Pie

I made puff pastry!

I am so proud of myself. I still can’t believe I really did it, and on the first try!

It was only the second time in my life I tried my hand at any kind of laminated dough. The first time was about 8 years ago when I attempted kouign amman, and while I think I remember the lamination coming out ok, the bake certainly did not go well. There was a lot of smoke and burned sugar involved, and the entire batch went in the trash. Someday I'll have to try that again.

This puff pastry definitely was not destined for the garbage though, and I’m so happy! Once more, with feeling, I MADE PUFF PASTRY!

If you are reading above that I made laminated dough and are imagining a paintbrush and some shellac, it’s ok, because that’s what it always sounds like to me. But really, laminating dough just means making a dough that incorporates a ton of butter into it, in a way that results in layers and layers of flaky pastry. Puff pastry is one example, and croissant dough is another. In puff pastry, the super thin layers of cold butter steam when you bake it, puffing up the dough to its airy heights and giving it a lovely, crispy texture.

Usually, I would just buy puff pastry pre-made, but if you want the really good stuff made with actual butter it is 1) sometimes hard to find and 2) expensive. So I decided now was the time to see if I could handle making it myself, and it turns out, it’s really not all that hard! You just need some really good instructions (this guide from the Kitchn was so handy) and to very carefully follow those instructions. 

Be gentle with the dough, let it rest and chill as needed (no rushing), and be patient. This process takes a few hours, minimum, because more turns and chilling sessions mean more flaky layers and higher puffy heights. The active time for this is really limited, though; most of the effort involved is relaxing and doing whatever else you want while the dough just chills out in the refrigerator. So just go about your day, check in with the dough every 30 minutes, and above all, keep it COLD, and you’re golden. 

Oh, and did I mention? This will greatly impress your Grandma, should she call while you are in the middle of rolling butter into dough.

single baked stone fruit pot pie
mixed stone fruit
rolled puff pastry.jpg
stone fruit pot pie ready to bake.jpg
baked stone fruit pot pies

So, once you’ve completed the deceptively simple work of crafting puff pastry, what should you do with it? 

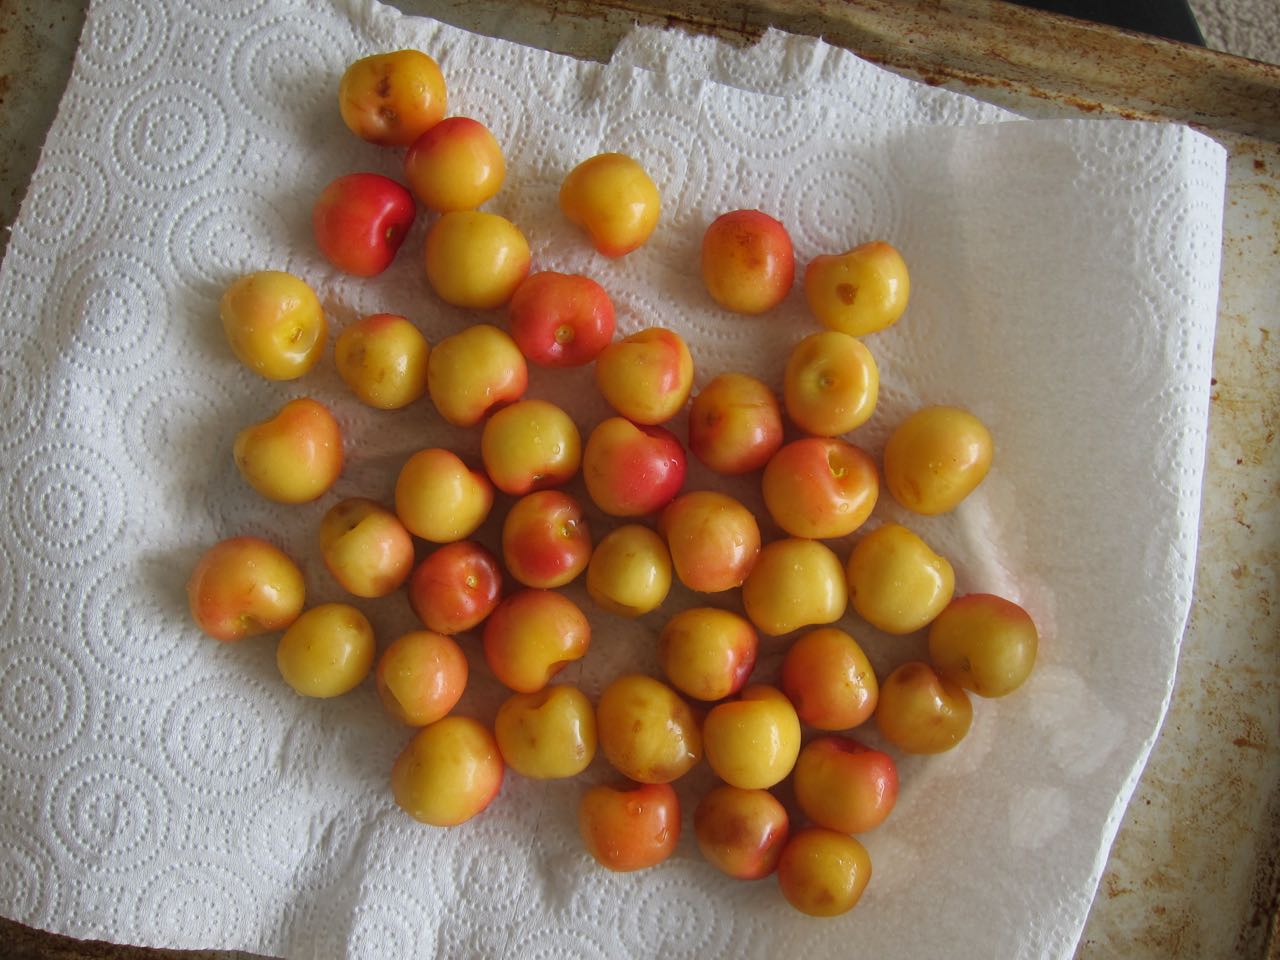
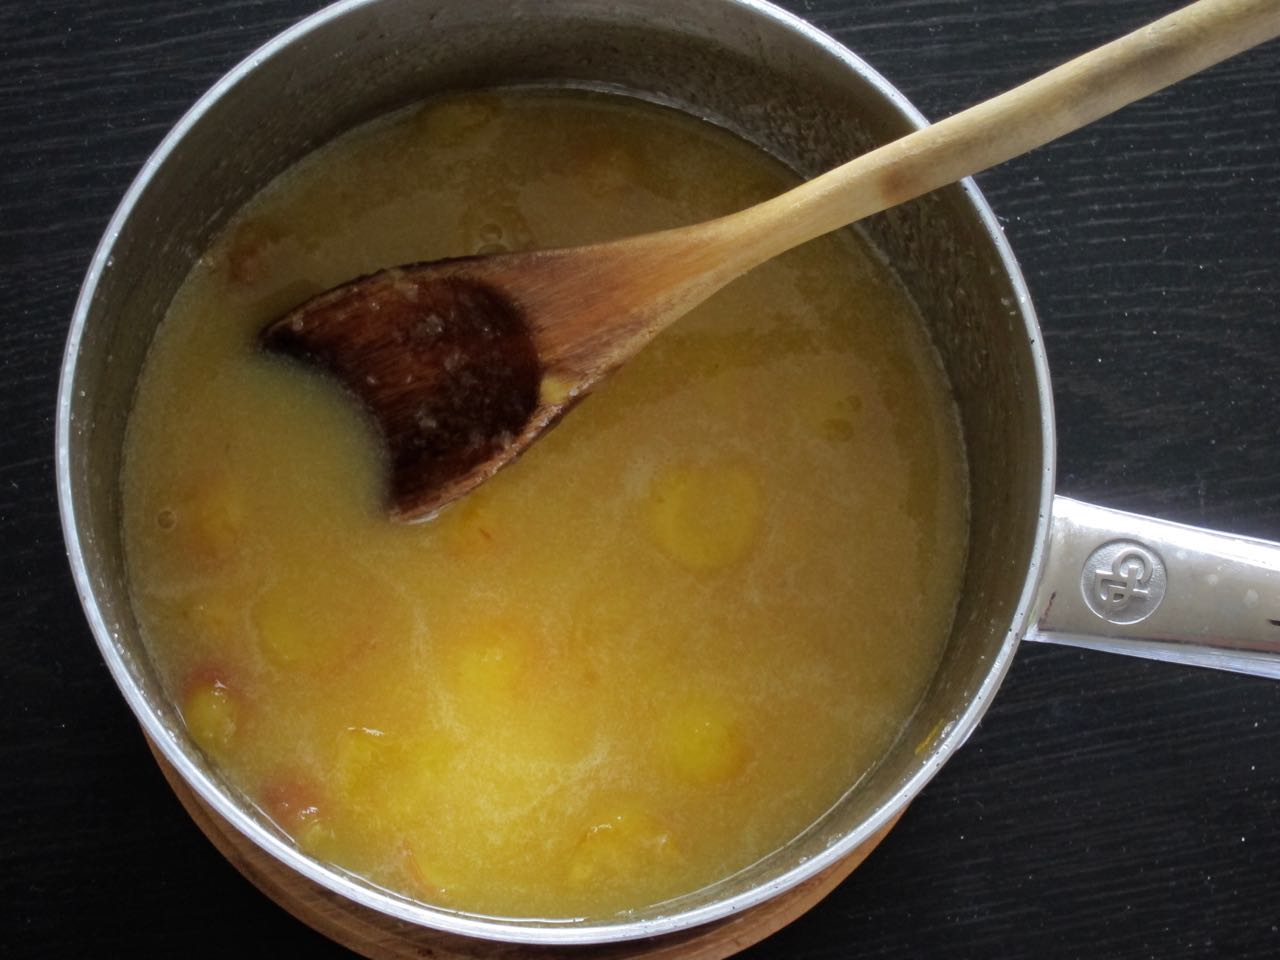
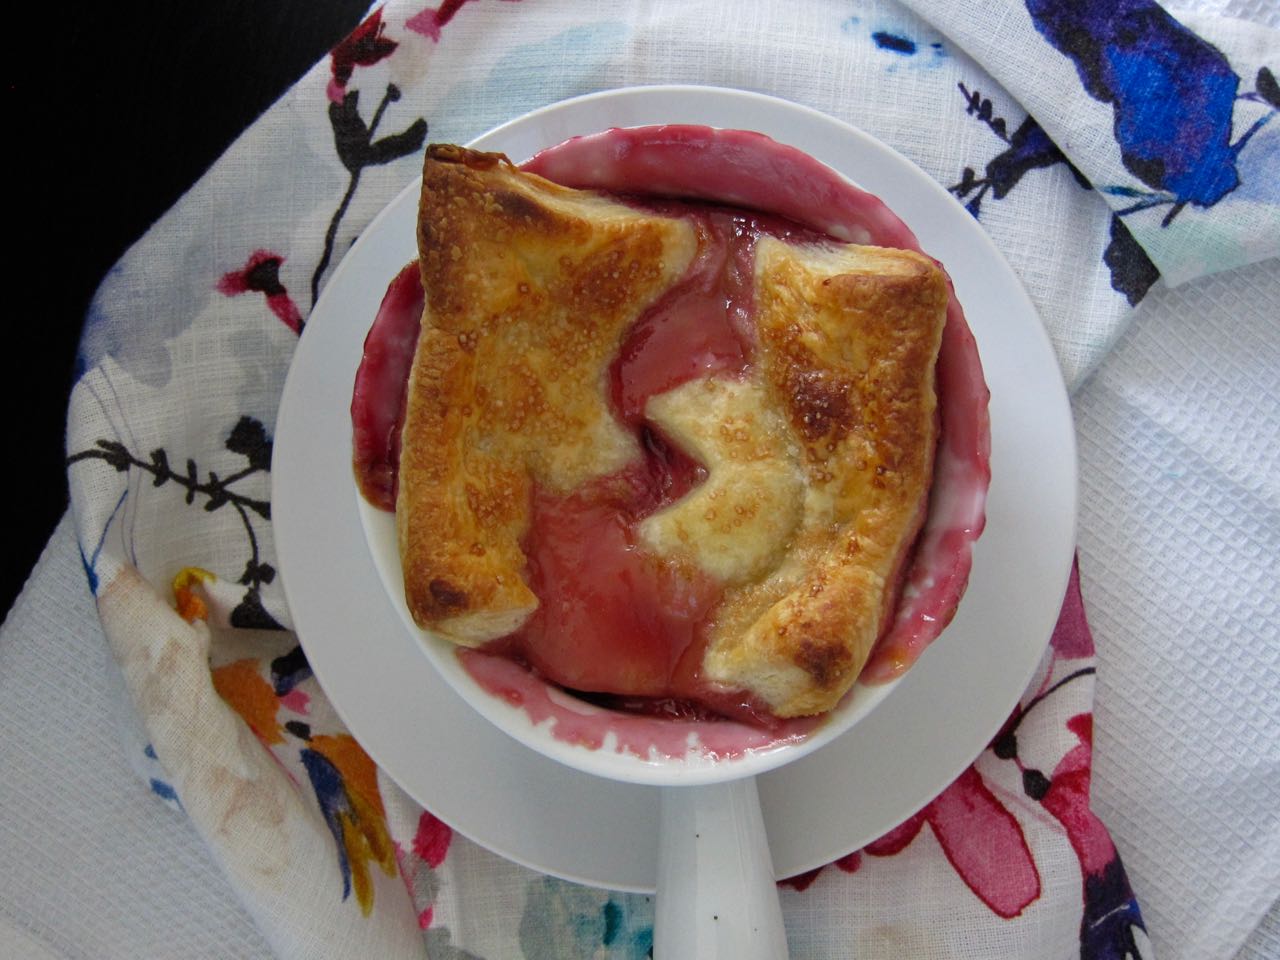
My best suggestion at the moment is to gather all the ripest fruit you can find (for me, that meant a pile of lovely stone fruit like peaches, plums, and cherries) and mix them up with a bit of sugar and flour into the juiciest, summeriest cobbler filling. Bake it down for a bit, then top with your gorgeous pastry and finish baking the whole mess up into a beautiful, bubbling pot pie crowned with puffy layers of achievement. Pat yourself heartily on the back, add ice cream, and dig in. You so earned this.

serving stone fruit pot pie

Stone Fruit Pot Pie

  • 1/2 recipe puff pastry (or use store-bought)
  • 5 cups mixed stone fruit, sliced for peaches and plums, or pitted and halved for smaller fruits (cherries)
  • 1/4 cup sugar
  • pinch salt
  • 1 1/2 tbs flour
  • 1 egg white (optional)
  • turbinado sugar (optional)
  • Ice cream, for serving
  1. Make puff pastry if going the homemade route. 
  2. Heat oven to 400 degrees.
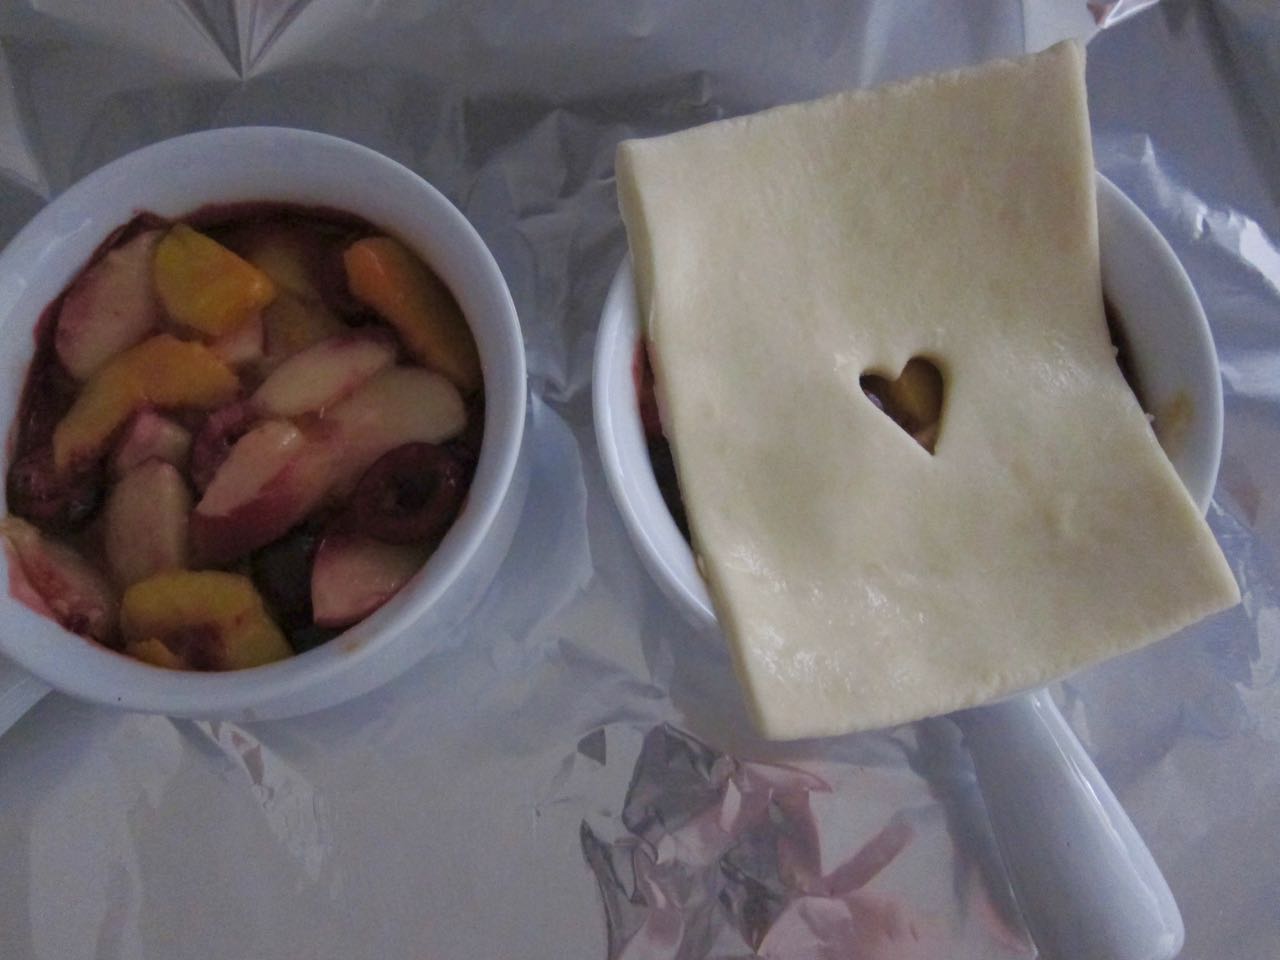
  3. Roll out the dough, and cut into whatever size you want to cover your baking dish. I cut into 2 rectangles about 6x4 inches. Use a small cookie cutter to cut out a design in the middle, if you want. Lay the cut out dough on a cookie sheet, brush with egg white and sprinkle with turbinado sugar if using (this step isn't necessary but it gives the dough a nice shininess and extra crunch from the sugar), and chill until needed. You want to keep the dough as cold as possible.
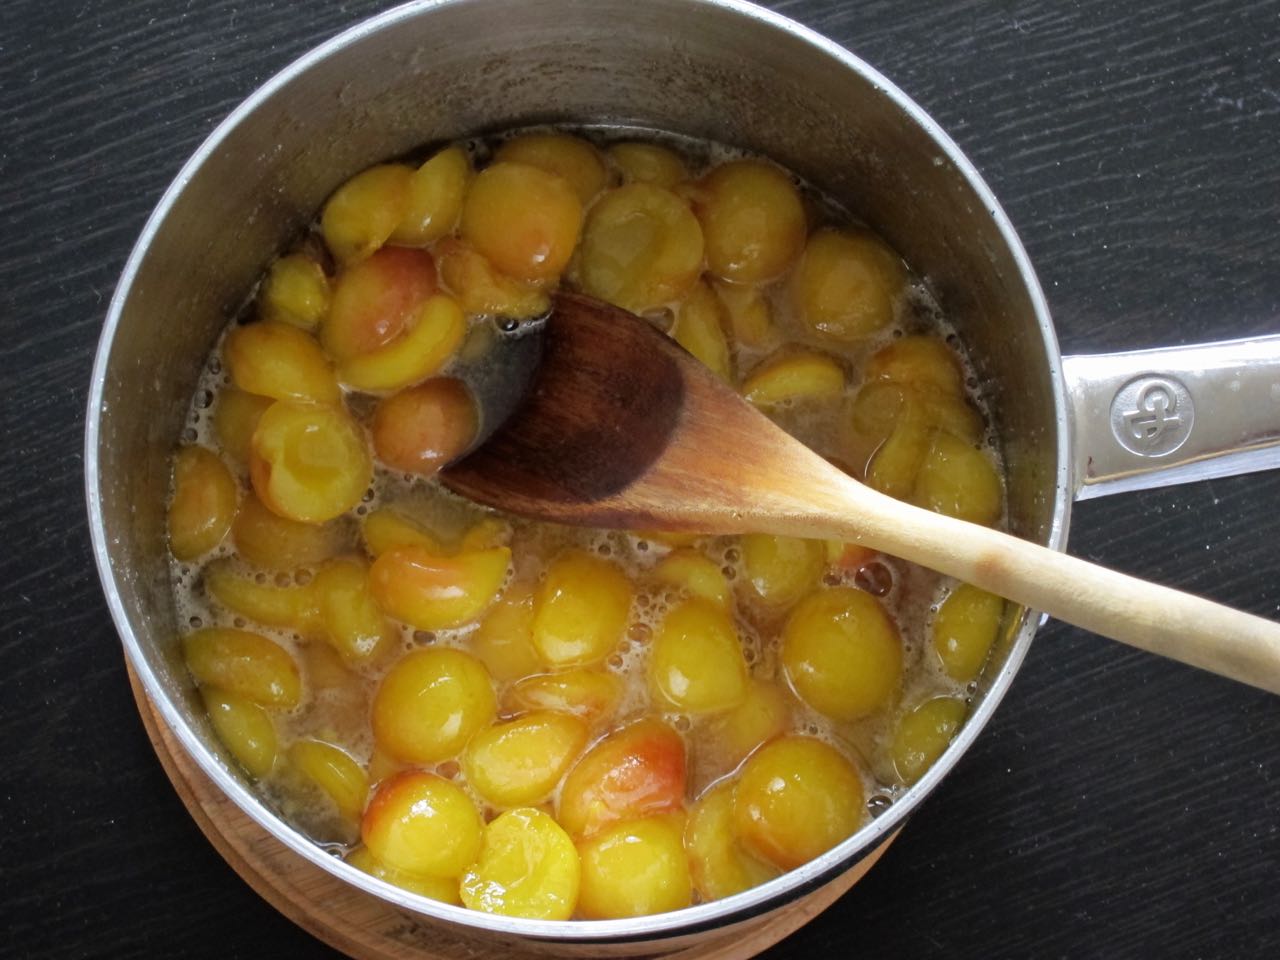
  4. Prepare the filling: Toss the sliced fruit together in a large bowl with the sugar, salt and flour. Spoon into a small baking dish or divide between smaller dishes as I did. Bake the fruit in the dishes for 20 minutes, then remove from the oven. Top with your prepared dough, and immediately put back in the oven to finish baking, about 15 minutes more, until the pastry is puffed and golden and the fruit is bubbling. Let cool a bit and then serve with ice cream, if desired.

Notes:

  • Make sure the dough is prepared and chilled before placing on the fruit. If you try to do the egg wash and sugar after laying the dough on top of the dish, the hot fruit will warm up your dough and you will not get a great puff in the oven. Keep it as cold as possible until you need it! 
  • The size of the baking dish you need will depend on how much filling and dough you have. I call here for 5 cups of fruit and a 1/2 recipe of dough, which yielded me 2 small pot pies about 5x2 inches each, and about 4 servings. If you want to make this in one larger dish, a pie pan would also probably be the right size, though you can always increase the filling amounts if needed.
In Recipes Tags Dessert
Comment

Strawberry Pink Pepper Lemonade

August 22, 2017 Allie
Pink Pepper Lemonade

How 'bout some electric pink lemonade for your Tuesday?

Actually, the strawberries blended into the exact shade of orangy-coral lipstick that my sister was on the hunt for when she came to SF in June (Claire, drink enough of this for fruit punch mouth and I got you covered). But we're all blind from the eclipse anyway, right? Pink or coral, colors don't matter to us now.

What really matters is flavor, and this lemonade has got it! Tart lemon, sweet strawberry, and SURPRISE! Some lovely, floral, pink peppercorns get steeped in the simple syrup. The end result is less of a peppery explosion and more of a gentle tingle in the back of your throat reminding you this lemonade has got a little extra going on. And it's vibrant hue is only a bonus! Even better, the color comes straight from the berries and you can leave the Red #40 out of this.

Pink lemonade always reminds me of The Sound of Music, because of the scene where Max and the Baroness are discussing her future with Captain von Trapp and wondering what makes their drinks pink. The only way I've ever had pink lemonade in real life was the powdered diet version my Mom used to buy. I drank a fair amount of that in high school, and now I shudder at the unknown ingredients I was chugging. It may not be the trendy millennial pink of the powder, but these days, I prefer the real stuff, made from real fruit and more vibrantly (and naturally!) colored than what I used to mix up.

The good news is this lemonade takes next to no effort to put together. Just find the ripest strawberries and juiciest lemons around, grab your best citrus squeezer or juicer, and get going. The peppercorns may be hard to find in some large grocery chains, but I was able to find them at my Whole Foods and they are definitely sold online. In a pinch, you could sub black pepper, though that has a slightly different, stronger pepper note, or you could leave it out if you're just feeling the strawberries and lemon. 

Regardless, make up a batch, invite over some friends, and marvel like Max and the Baroness at the wonder in your glass.

Strawberry Pink Pepper Lemonade
Pink Peppercorn Syrup.jpg
Pink Peppercorns.jpg
Strawberry Lemonade Ingredients
Strawberry Pink Lemonade

Strawberry Pink Pepper Lemonade

Adapted from Smitten Kitchen

  • 1/8 cup sugar plus 1 tbs sugar, divided
  • 1 1/2 tbs pink peppercorns
  • 1 cup strawberries, sliced
  • 1 cup lemon juice
  • 3 cups filtered water
  1. With the back of a spoon or in a mortar and pestle, coarsely crack the peppercorns. In a small pot, bring 1/4 cup water to a boil, add 1/8 cup sugar and stir together over medium-high heat to dissolve. Add the pink peppercorns, remove from heat, and let stand for 20 minutes. Strain, and let cool.
  2. Add the remaining 1 tbs sugar to the strawberries in a medium bowl, and let sit for at least 10 minutes, until they begin to release their juice. Transfer mixture to a blender and puree completely. Strain out any seeds, if desired, though I didn't have very many to strain after tossing the mix in a high-speed blender.
  3. In a large carafe or pitcher, combine together the strawberry puree, lemon juice, pink peppercorn syrup, and the 3 cups of filtered water. Shake or stir to combine, and serve immediately over ice, or chill until ready to serve. 
In Recipes Tags Drinks
Comment

Sheep's Milk Cherry Fro Yo

August 18, 2017 Allie
Sheeps Mik Cherry Frozen Yogurt

This frozen yogurt took me four tries to churn up. Four! I would say it's well-earned by now but that implies the first three tries were somehow difficult or the recipe is tricky, and it's not at all. But it's been a little while since I've taken my ice-cream maker down from its shelf, so it was good to get a reminder of what not to do with it.

A PSA:

  1. Definitely do not add a fruit puree of any kind to an almost-finished churning ice cream base. It WILL immediately become liquid again and if you are using the kind of ice cream maker that you have to pre-freeze, it will definitely not be cold enough to re-freeze your mixture. Remember to add that to the dairy base at the beginning, like the intelligent person you are.
  2. Freeze your churning container fully before use. If you make the mistake of #1, you have to wait another 12 hours or so until you can try again. Sorry, you do not get a cone today.
  3. If, after two attempts, you finally get your act together and successfully churn a batch of frozen yogurt, do not, I repeat, DO NOT, decide to start watching a binge-worthy show of any kind. You will forget that you are churning ice cream and return an hour later to find it has gone from almost frozen to liquified, and again, see #1 for why you are now screwed.

Soooooo, not my finest moment, no. But in the end, after four days and four tries, I finally got to try my frozen yogurt, and oh my, it is lovely. I never did get a meta moment of eating Rainier cherries at Mt. Rainier, so I used them here, and they have a very mellow, but still tart cherry flavor that pairs excellently with sheep's milk yogurt, which I think is a bit tangier than its bovine counterpart and forms a rich, creamy frozen yogurt. I left half the cherries whole, so you get a nice, frozen fruit treat every few bites.  

Rainier cherries
Cooked rainier cherries.jpg
rainier cherry puree.jpg
Cherry sheeps milk fro yo

Sheep's Milk Cherry Frozen Yogurt

  • 3 cups sheep's milk yogurt
  • 3/4 cup sugar, divided
  • 1 tsp vanilla extract
  • 1 lb rainier cherries (or other cherry variety)
  • 1/2 tsp kirsch (optional)
  1. Pit and halve cherries. Add to a pot with 1/4 cup sugar over medium heat. Cook until sugar is dissolved and cherries are soft and begin to break down and release juice, about 15-20 minutes. Remove from heat and divide in half. Puree half the mixture in a blender and then return to remaining cherries. Stir together with the kirsch, if using, and set aside to cool completely, then chill. 
  2. Whisk together the yogurt, vanilla and remaining 1/2 cup sugar. Mix with the cherry mixture and chill for at least 1 hour. 
  3. Freeze, according to manufacturers instructions, in an ice cream maker (see note). Spoon churned mixture into a freezer-safe container and freeze until hard. Scoop and serve as desired!

Notes:

  • The kirsch adds a bit more cherry flavor, but it is alcoholic, so if you do decide to use it, it will make the final product a bit softer. You may find that the yogurt mixture does not churn up as frozen as usual, but don't worry, it will freeze up fine and be easier to scoop, no thawing required!


In Recipes Tags Dessert
2 Comments
← Newer Posts Older Posts →

For those who plan their next meal while eating the last.


INSTAGRAM

🎶When pizza’s on a bagel*, you can have pizza anytime**!🎶

*donut
** after you fry some donuts
FINALLY perfected these Burnt Honey Butter Biscuits & what good timing! It’s carb season & we are all hibernating! 🐻
Final thoughts on Small Thanksgiving: take your sweet potato + marshmallow combo firmly into dessert or even breakfast, and consider a cozy mashed potato soup with stuffing croutons to use up those leftovers. Stay safe & Happy Thanksgiving! 😷🦃
Part 2 of Small Thanksgiving: all the stuff to stuff yourself with! An Italian sausage pasta-inspired stuffing and a vegetarian, spiced wild rice stuffed squash. Everything serves 4-6, gather safely this year! 😷🦃 #thanksgiving #smallthanksgiving #v
Now that we (and the world?) can let out that collective sigh of relief, I can  finally think about my favorite holiday! Everyone is probably (hopefully 😷)looking at smaller gatherings this year, so I’m sending some Small Thanksgiving ideas ou
So happy Disney keeps justifying my dumb baking purchases! This matcha shortbread is delicious, but make a good sandwich cookie it does not. I hid all the broken pieces 🙈
Subscribe to Tea and Fog!

RECENT RECIPES

Featured
polenta with rosemary and goat cheese.jpeg
Salmon Wellington and Warm Rice Salad.jpeg
Pizza Donut Hero.jpeg
Burnt Honey Butter Biscuits.jpeg
Mashed Potato Soup with Stuffing croutons.jpeg
sweet potato donuts with marshmallow frosting.jpeg