• Home
    • Recipes
    • The Roast Chicken Project
    • Allie Dreams of Cake
    • Sunday Suppers
  • Travel
  • About
Menu

Tea and Fog

Street Address
City, State, Zip
Phone Number

Your Custom Text Here

Tea and Fog

  • Home
  • Recipes
    • Recipes
    • The Roast Chicken Project
    • Allie Dreams of Cake
    • Sunday Suppers
  • Travel
  • About

Sunday Supper: Falafel "Burgers" with Israeli Salad and Pickled Onions

December 3, 2017 Allie
Falafel Burgers with Israeli Salad

I was talking about Israel the other day with a couple of cousins who had recently been and we were all reminiscing about the falafel there. We all agreed that we have yet to try any here in the US that comes close. It just can't be replicated. This was exciting for me to confirm, because I thought I was just being a snob about it, but apparently i'm not the only one.

I KNEW IT.

I don't know how they do it, but in Israel, the falafel always has this shatteringly crisp outer shell and the creamiest, yet perfectly cooked insides. Since Haifa was the first place I ever tried falafel, I basically ruined myself forever, but even so, it's pretty much fact that most of the falafel sold here is dry, crumbly, over cooked, over-herbed, or (shudder) served cold. Just, no.

In the 10 years (!) since I was in Israel, I have tried many a falafel, from random salad bars, Middle Eastern restaurants, non-Middle Eastern restaurants, and dedicated falafel shops. In that time, I've realized that if I want to eat anything close to my ideal, I'm going to have to make it myself. 

Fortunately for me, years ago Epicurious published a falafel recipe from Joan Nathan, including head notes that made me suspect she was just as picky as I am about her chickpea fritters. Hers is the closest I have come to the perfect memory in my head, and I've tweaked it a tiny bit here and there over the years to result in the best falafel I know how to make. It's spicy, fluffy but creamy, and crispy, with just the right amount of herbs. It's the most authentic Israeli falafel I've found without needing a trans-Atlantic flight on El Al.

Here, I've formed the falafel mixture into larger patties and shoved them into split pita buns with Israeli salad, pickled onions, hummus and a spicy harissa tahini. You end up with what I'm calling a falafel burger, because it really resembles nothing else. It's huge and delicious and filling, but plant-based enough to claim virtuosity if you need it. These are in fact entirely vegan, if you're looking for a little mid-holiday season break from rich meats and butter-laced starches. 

Though of course store-bought is fine, I would heartily recommend making the pita buns yourself, since it's actually a very simple process. Homemade pitas just come out fluffier than their commercial counterparts, which for me is crucial from a texture perspective, but I realize I'm also calling for deep frying and garbanzo soaking and for pickling as well, so do what makes you comfortable. The falafel itself is enough of a Sunday project.

Falafel Burger Fixings
Falafel Burger
Soaking Chickpeas.jpg
Falafel Ingredients.jpg
Falafel Mixture.jpg
Falafel Mix.jpg
Falafel Patties.jpg
Frying Falafel Patties.jpg
Baked Pita.jpg
Steamed Baked Pita.jpg
Falafel Burgers

Falafel Burgers with Israeli Salad and Pickled Onion

Falafel adapted from Joan Nathan

For the Falafel

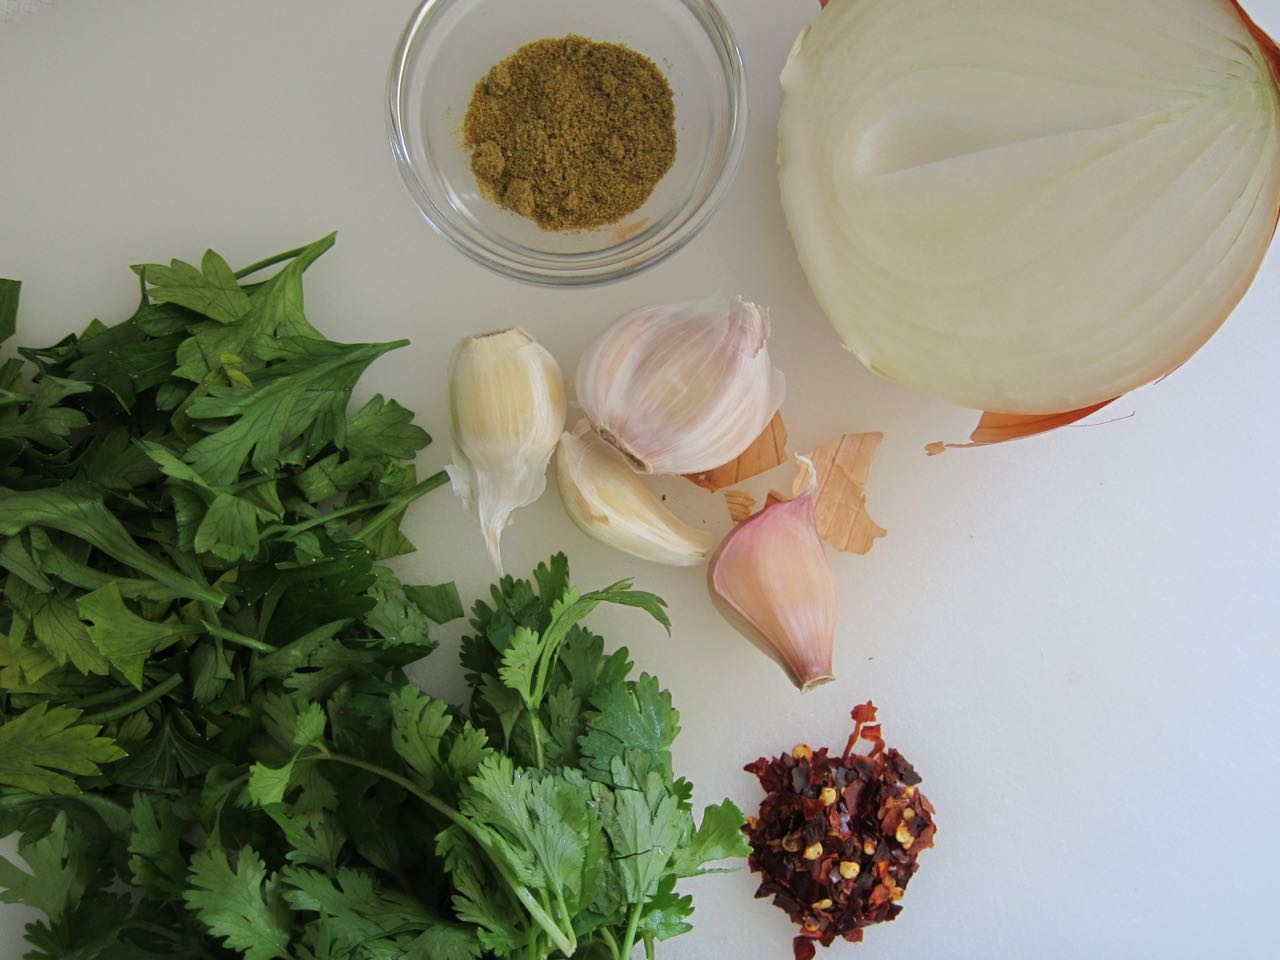
  • 1/2 large onion, cut into quarters
  • 2 tbs minced parsley
  • 2 tbs minced cilantro
  • 1 tsp salt
  • 1 tsp dried chile flakes
  • 5 cloves garlic, peeled
  • 1 tsp cumin
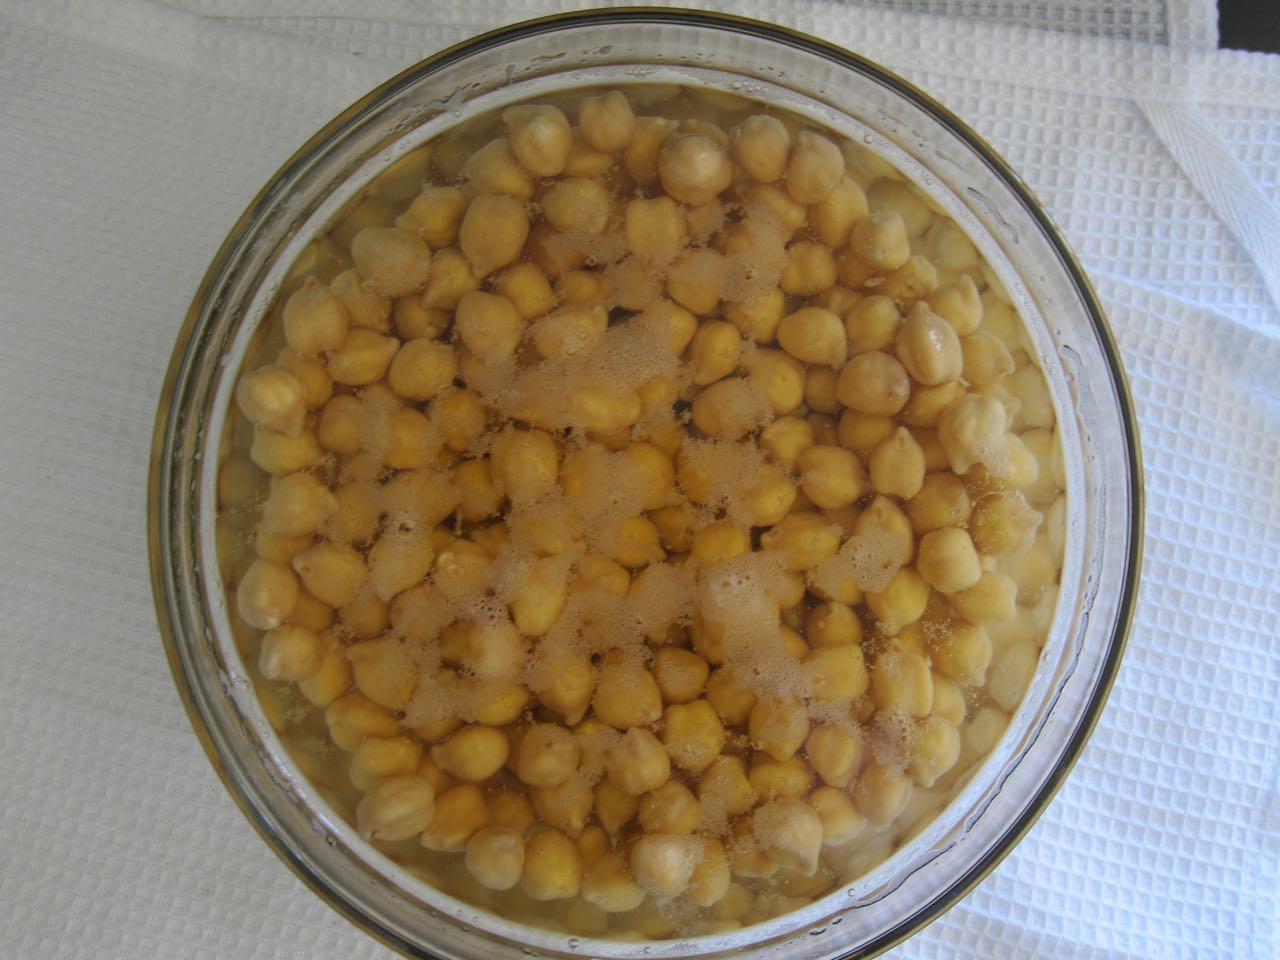
  • 1 cup dried chickpeas, soaked overnight
  • 1 tsp baking powder
  • 4-6 tbs flour
  • canola oil, for frying
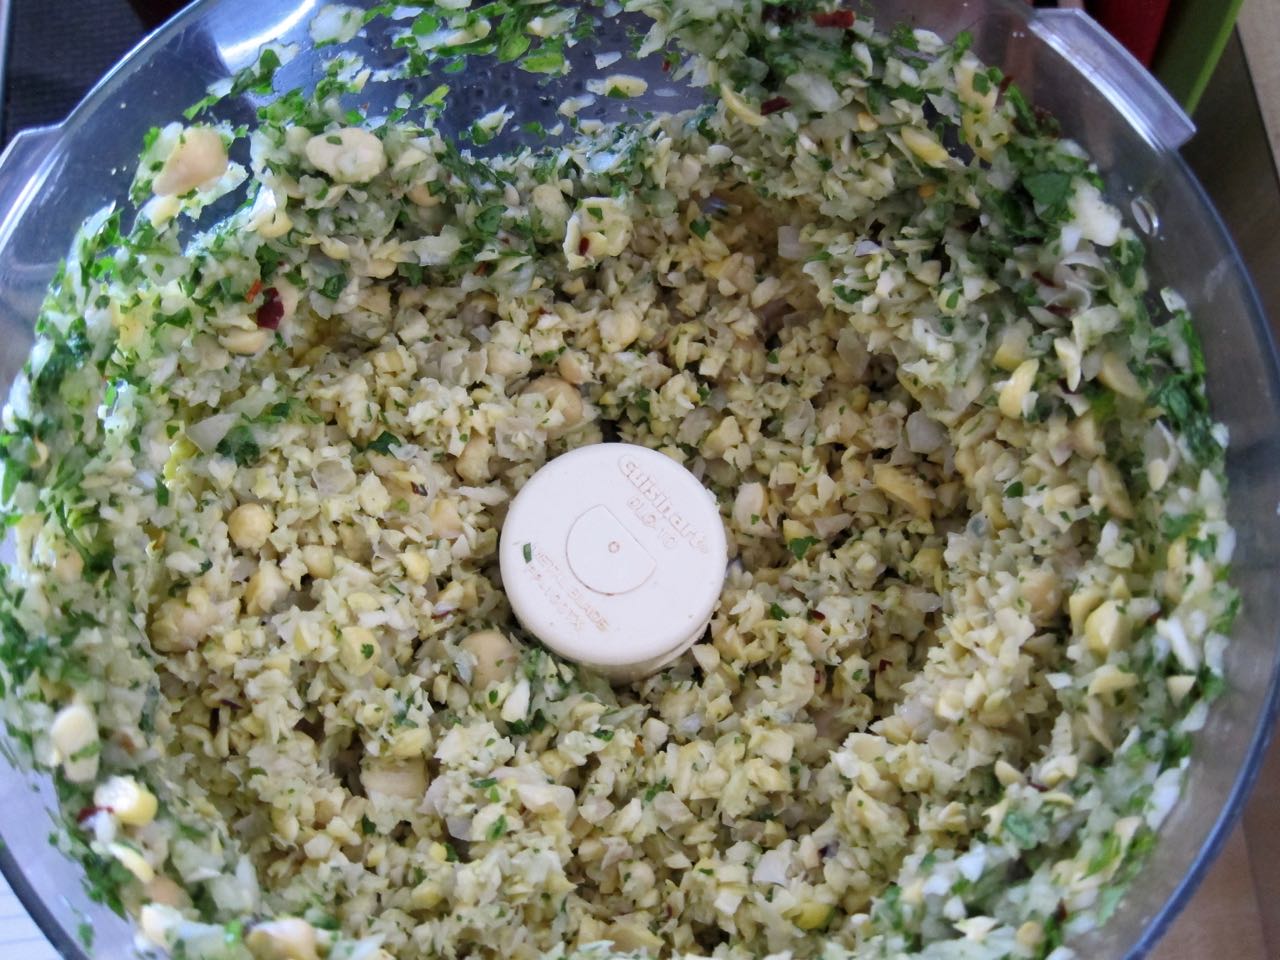
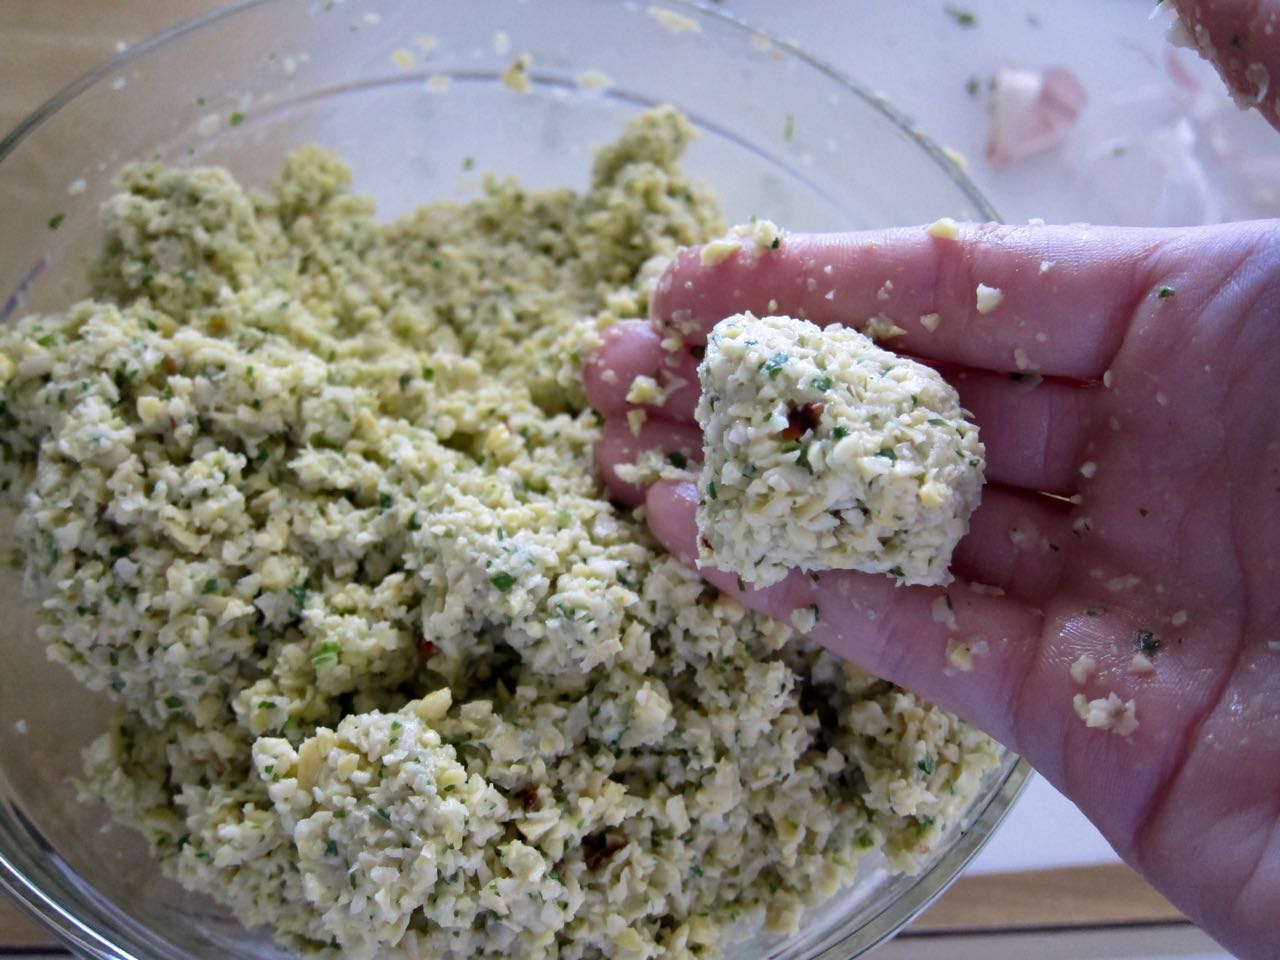
  1. In a food processor, add onion, parsley, cilantro, salt, chile flakes, garlic and cumin and pulse until finely chopped. Add chickpeas and pulse until finely chopped but not pureed. Add baking powder and 4 tbs flour and pulse until combined. Test a bit of the mixture: if it holds its shape when you squeeze it together and doesn't stick to your hand, it's ready. Othewise, add up to 2 more tbs flour. Transfer mixture to a bowl, cover, and refrigerate for several hours or overnight.
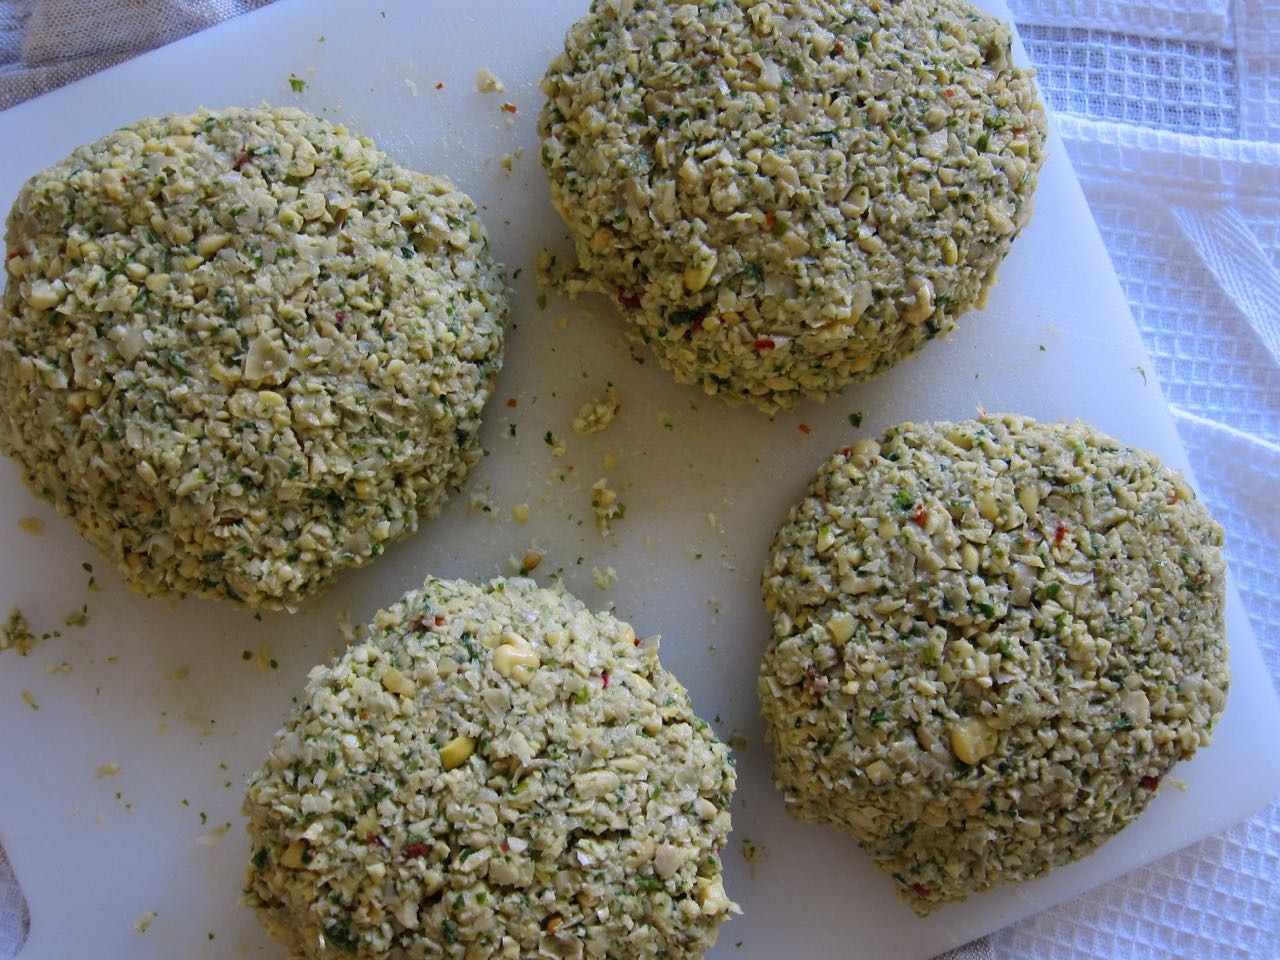
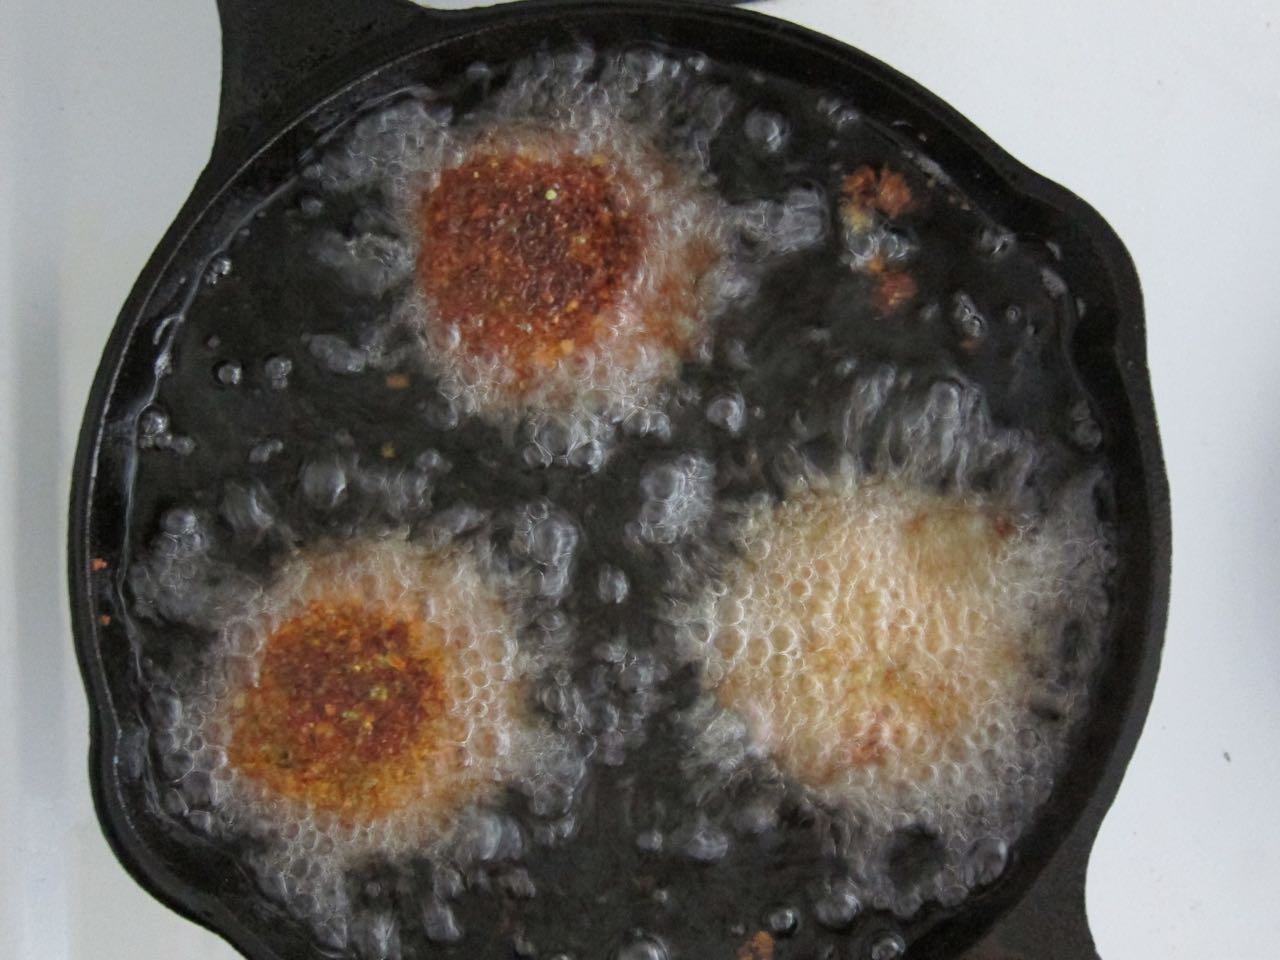
  2. When ready to fry, heat an inch of canola oil in a large cast iron pan to 375 degrees. Form dough by 1/4 cup scoops into thin patties. Fry until golden and puffed a bit, flipping if needed, about 3-4 minutes. Drain on paper towels. 

Notes:

  • To get that perfect, creamy texture, you really need to use raw, dried chickpeas that have been soaked overnight. Canned chickpeas will work in a pinch, but they are already pre-cooked, so will result in a falafel that is mushier than I prefer. To get the falafel creamy and cooked through without burning the outside, you may find that you need to lower the temperature of the oil to 350.

For serving:

  • 1 cucumber, thinly sliced
  • 1 tomato, thinly sliced
  • juice of 1 lemon
  • extra virgin olive oil
  • kosher salt
  • pepper
  • 1/2 small red onion, siced thinly
  • 2/3 cup water
  • 1/3 cup vinegar
  • hummus
  • 1/4 cup tahini
  • 1 tbs harissa
  • pickles (optional)
  • 6 pitas, for serving (store-bought or see recipe below)
  1. In a bowl, combine the cucumber, tomato, lemon juice and a drizzle of olive oil and toss. Season with salt and pepper to taste.
  2. In a small pot, bring water and vinegar to a boil and then pour over the onions in a heat-proof bowl. Let sit at least 20 minutes.
  3. In a small bowl, combine tahini and harissa, and mix with enough water to thin to a pourable consistency. 
  4. Assemble burgers: Split open pitas and slather inside with a good amount of hummus. Stuff with a falafel patty, cucumber and tomato salad, and pickled onions. Drizzle with spicy tahini and garnish with pickles, if you want.

To make pitas:

  • 1 1/2 cups lukewarm water
  • 3/4 tbs granulated yeast (1 packet)
  • 3/4 tbs kosher salt
  • 3 1/4 cup all purpose flour
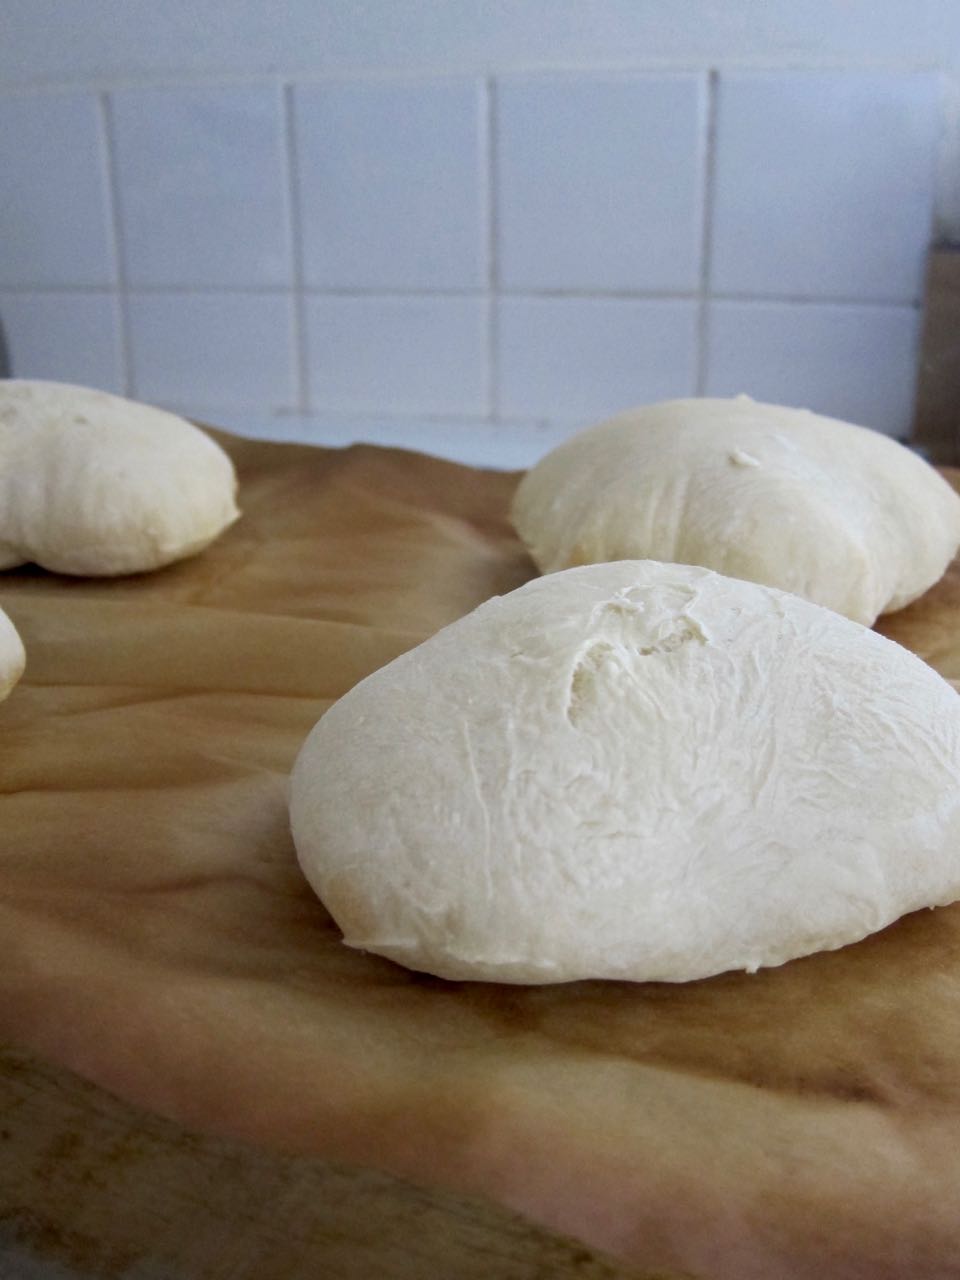
  1. Mix water, yeast and salt in a large bowl and add flour. Stir to fully combine, scrape down bowl and stir to make sure everything is welll combined. Dough should be very wet. Loosely cover with plastic wrap. Let sit at room temperature for about 2 hours, or until dough rises and begins to flatten on top. You can use the dough at this point or store the dough in the refrigerator until needed (the longer it sits in the refrigerator the more flavor will develop).
  2. When ready to bake, heat the oven to at least 500 degrees, and preheat a baking stone or steel. Dust the surface of the dough and divide into 8 equal pieces. Shape into balls and dust a large, flat surface with plenty of flour. Roll dough into 1/8 inch thick rounds (if they are too thick they won't puff). You may need to add flour if dough sticks too much. Transfer rolled rounds to a sheet of parchment on the bottom side of a large baking sheet. 
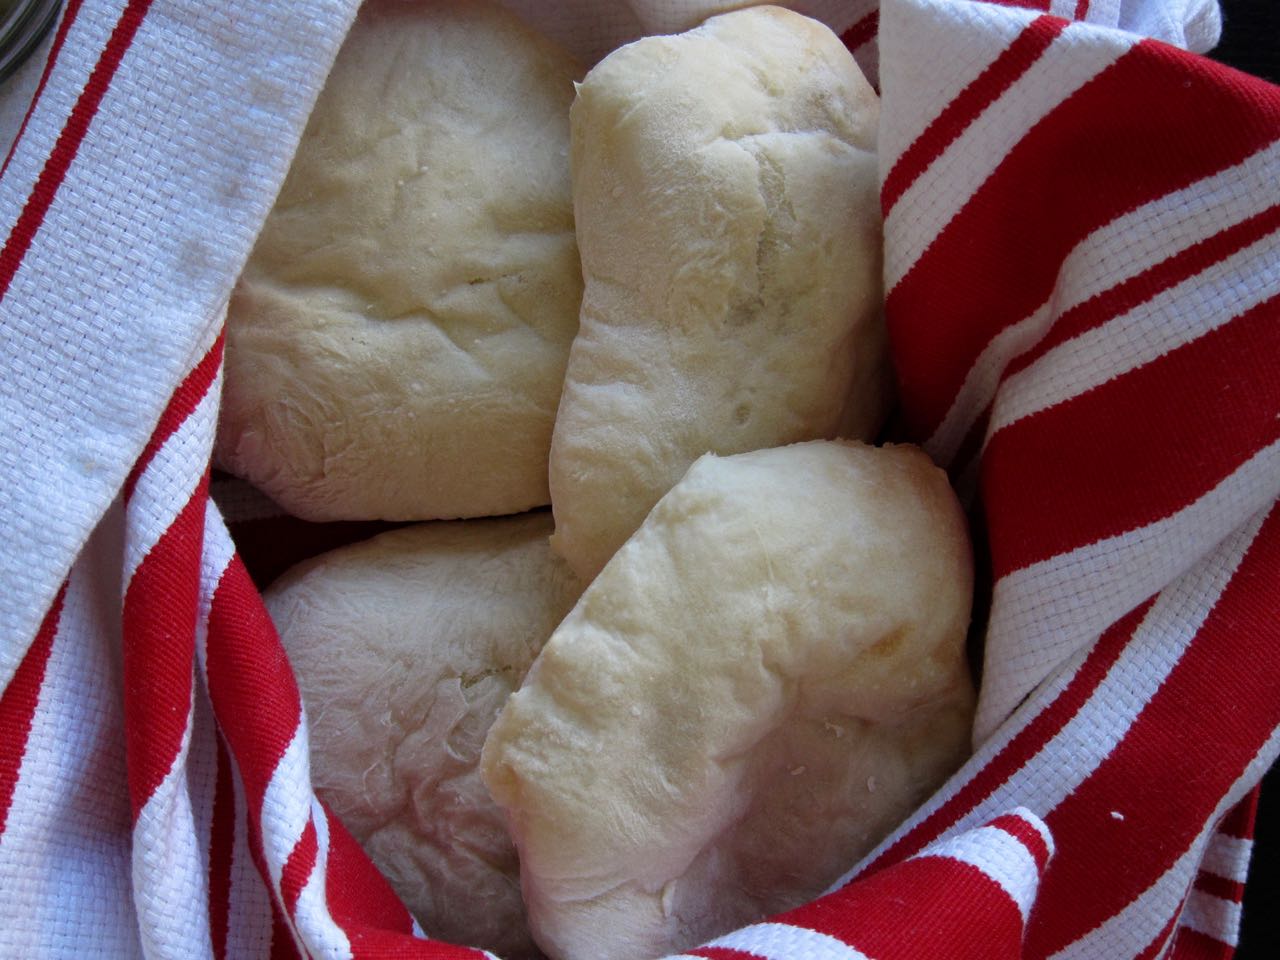
  3. Slide the parchment onto the hot baking steel or stone, and bake 5-7 minutes, until puffed. When done, remove pitas from oven and wrap baked pitas in cloth dish towel and set on a cooling rack. As they cool, pitas will deflate a bit and the crust will soften. Repeat with remaining dough.

Β 

In Recipes, Sunday Suppers Tags Main Dish
Comment

Pomegranate Caramels

December 1, 2017 Allie
pomegranate caramels

Happy Friday! I've been working from my sister's house this week, dog sitting and letting her spoil me with her cooking. I've been served chiles rellenos, potsticker soup, lamb orzo, and kimchi fried rice, and I barely lifted a finger for any of it (ok, I made some rice). It's all been cozy and lovely and I haven't even been into Boston once. But I'm kind of ok with that for this trip. 

But now it's December 1st and I've moved onto panicking about Christmas gifts. I sat out Black Friday and Cyber Monday and Small Business Saturday, so my gift purchasing progress is...none? 

I need to get a move on.

If you, like me, find yourself behind the curve on holiday gifts, or maybe short on moneys to purchase said gifts, the homemade route is never unwelcome, in my experience. 

And these caramels would make the perfect gift! They are laced with pomegranate molasses to add tartness to the sugar, butter, and cream, for a sour-sweet burst that I love. Bring them for the host of your Holiday parties, your co-workers, your candy-loving relatives, whoever. Pretty much no one ever was sad to receive a homemade caramel. 

And if you are thinking you can't possibly make something like caramels, let me assure you that this is a dump, stir, and bring to boil situation, and all you really need is a candy thermometer and some patience. 

pomegranate caramel candy
cutting pomegranate caramels
boiling caramel.jpg
setting pomegranate caramel.jpg
pomegranate caramel square

Pomegranate Caramels

Adapted from Smitten Kitchen. I cut the original recipe in half but it can easily be doubled.

  • 1/4 cup pomegranate molasses
  • 1 tsp flaky sea salt
  • pinch ground cinnamon
  • 4 tbs unsalted butter, cut into pieces
  • 1/2 cup granulated sugar
  • 1/4 cup packed, light brown sugar
  • 1/6 cup heavy cream
  • vegetable oil, for cutting
  1. Get all your ingredients together. You are boiling sugar here so you want to be prepared. Line a straight-sided loaf pan with 2 sheets of parchment draped into a sling and set aside. 
  2. Stir together cinnamon and salt in a small bowl and set aside. In a pot, stir together butter, molasses, sugars and cream. Set the pot over medium-high heat with a candy thermometer clipped to the side. Let the mixture come to a boil and let cook until it reaches 252 degrees, about 5 minutes.
  3. Remove the pot from the heat, remove the candy thermometer, and stir in the salt and cinnamon mixture. Stir well to combine, the pour mixture into the parchment lined pan. Let sit for at least 2 hours at room temperature, until firm.
  4. When caramel has set, remove from the pan by lifting up the parchment sling and transfer to a cutting board. Oil a sharp knife and cut the caramel into 1x1 inch squares. Wrap caramels in wax or parchment paper and store in the refrigerator. They can be kept at room temperature but they will be very soft.
In Recipes Tags Dessert
Comment

Chicken in Mustard Sauce

November 28, 2017 Allie
Chicken in Mustard Sauce

I hope everyone had a wonderful Thanksgiving! I had a delicious meal cooked by my lovely seestra and the most epic leftover sandwich ever on Friday. We played multiple rounds of Oregon Trail and Batman Love Letter and drank a shocking amount of adult beverages. The whole weekend was fun and cozy and I may finally be able to think about eating poultry again.

I hope you are too, so get a spoon ready.

Yes, I said spoon, not fork.

Because bacon, chicken juices, onion and mustards (plural) have all come together into the most divine sauce. You can bathe your chicken in it, and maybe pour over some mashed potatoes, and you should, but you also might find that you want to just dip a spoon into the sauce and treat yourself to a few mouthfuls. You should totally do that too, so grab a spoon.

As for the chicken, this is a great, simple, easy recipe for a weeknight dinner. You can have the legs roasted, sauced and served in about 45 minutes, but it tastes like you spent hours. That's a fun Tuesday night chicken dinner, if you ask me.

This recipe is fully based on David Lebovitz's mustard chicken from My Paris Kitchen, and I changed basically nothing. Because he might be known more as a pastry chef, but this recipe proves why he's also an excellent chef of savory food as well. The first time my sister served this chicken to me, I basically died. It was so good. I knew I had to spread the word, because chicken in a sauce this good is a crime to keep to yourself.

Mustard Chicken
Marinating mustard chicken and bacon.jpg
deglazing pan.jpg
Browned chicken and bacon.jpg
stirring in mustard and cream to chicken.jpg
Serving of Chicken in Mustard Sauce

Chicken in Mustard Sauce

Adapted from My Paris Kitchen. I halved the recipe to better suit my being one person, but the recipe is easily doubled back to the original 8 pieces. Feel free to mix thighs and drumsticks here, I used thighs because I prefer them.

  • 1/4 cup plus 1 1/2 tbs dijon mustard
  • pinch smoked paprika
  • fresh ground black pepper
  • 1/2 tsp salt
  • 4 chicken thighs, bone in and skin on (or other leg cuts)
  • 1/2 cup diced, smoked thick cut bacon
  • 1/2 onion, peeled and diced fine
  • 1/2 tsp fresh thyme
  • 1/2 cup dry white wine
  • 1/2 tbs grainy mustard
  • 1 1/2 tbs heavy cream
  • warm water, for thinning, if needed
  • chopped parsley, for garnish
  1. Mix 1/4 cup of the dijon with the paprika, a few grinds of pepper, and salt in a large bowl. Add the chicken thighs and toss in the mixture, rubbing all over the thighs and under the skin.
  2. Heat a large, heavy bottomed skillet or dutch oven (something with a cover) over medium-high heat and add the bacon. Cook, stirring, until cooked through and browned, about five minutes. Remove bacon and drain on paper towels. Leave all the bacon drippings in the pan or pour out all but 1/2 tbs if you like. 
  3. Add the onion to the pan and cook 5 minutes until soft. Stir in the thyme and continue cooking a few minutes more, then transfer onions to a bowl. 
  4. Add a little olive oil to the pan if needed and place the chicken skin-side down in the pan in one layer, being careful not to crowd the pan. Cook the chicken over medium-high heat, turning to brown well on both sides. Remove the chicken and add to the bowl with the onions. 
  5. Add the wine to the pan and deglaze it, scraping the bottom with a wooden spoon to get up all the yummy bits. Return the chicken and onions to the pan, add the bacon, and cover and cook over low-medium heat for 15-20 minutes until cooked through, turning the chicken a few times. 
  6. Remove the pan from the heat and stir in the heavy cream, remaining dijon and grainy mustard. If the sauce seems too thick you can thin with the water. Garnish with the parsley and serve hot.

Β 

In Recipes Tags Main Dish
Comment
← Newer Posts Older Posts →

For those who plan their next meal while eating the last.

Β 

INSTAGRAM

🎢When pizza’s on a bagel*, you can have pizza anytime**!🎢

*donut
** after you fry some donuts
FINALLY perfected these Burnt Honey Butter Biscuits & what good timing! It’s carb season & we are all hibernating! 🐻
Final thoughts on Small Thanksgiving: take your sweet potato + marshmallow combo firmly into dessert or even breakfast, and consider a cozy mashed potato soup with stuffing croutons to use up those leftovers. Stay safe & Happy Thanksgiving! πŸ˜·πŸ¦ƒ
Part 2 of Small Thanksgiving: all the stuff to stuff yourself with! An Italian sausage pasta-inspired stuffing and a vegetarian, spiced wild rice stuffed squash. Everything serves 4-6, gather safely this year! πŸ˜·πŸ¦ƒ #thanksgiving #smallthanksgiving #v
Now that we (and the world?) can let out that collective sigh of relief, I can  finally think about my favorite holiday! Everyone is probably (hopefully 😷)looking at smaller gatherings this year, so I’m sending some Small Thanksgiving ideas ou
So happy Disney keeps justifying my dumb baking purchases! This matcha shortbread is delicious, but make a good sandwich cookie it does not. I hid all the broken pieces πŸ™ˆ
Subscribe to Tea and Fog!

RECENT RECIPES

Featured
polenta with rosemary and goat cheese.jpeg
Salmon Wellington and Warm Rice Salad.jpeg
Pizza Donut Hero.jpeg
Burnt Honey Butter Biscuits.jpeg
Mashed Potato Soup with Stuffing croutons.jpeg
sweet potato donuts with marshmallow frosting.jpeg