• Home
    • Recipes
    • The Roast Chicken Project
    • Allie Dreams of Cake
    • Sunday Suppers
  • Travel
  • About
Menu

Tea and Fog

Street Address
City, State, Zip
Phone Number

Your Custom Text Here

Tea and Fog

  • Home
  • Recipes
    • Recipes
    • The Roast Chicken Project
    • Allie Dreams of Cake
    • Sunday Suppers
  • Travel
  • About

Matcha-Glazed Mochi Donuts

March 6, 2018 Allie
matcha mochi donuts

Did I mention that I went to Japan? 

I think I may have said something about it. 

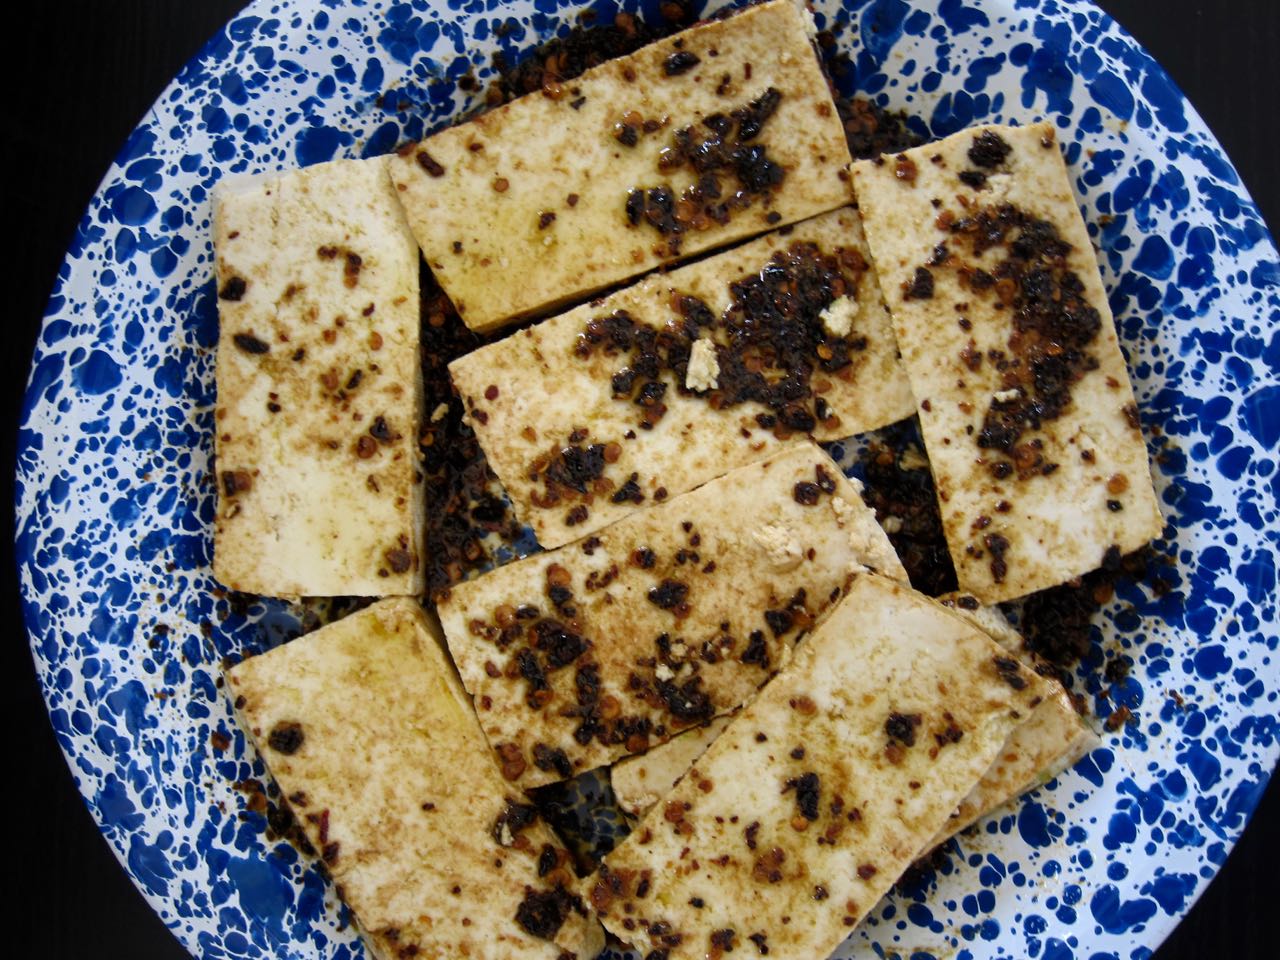
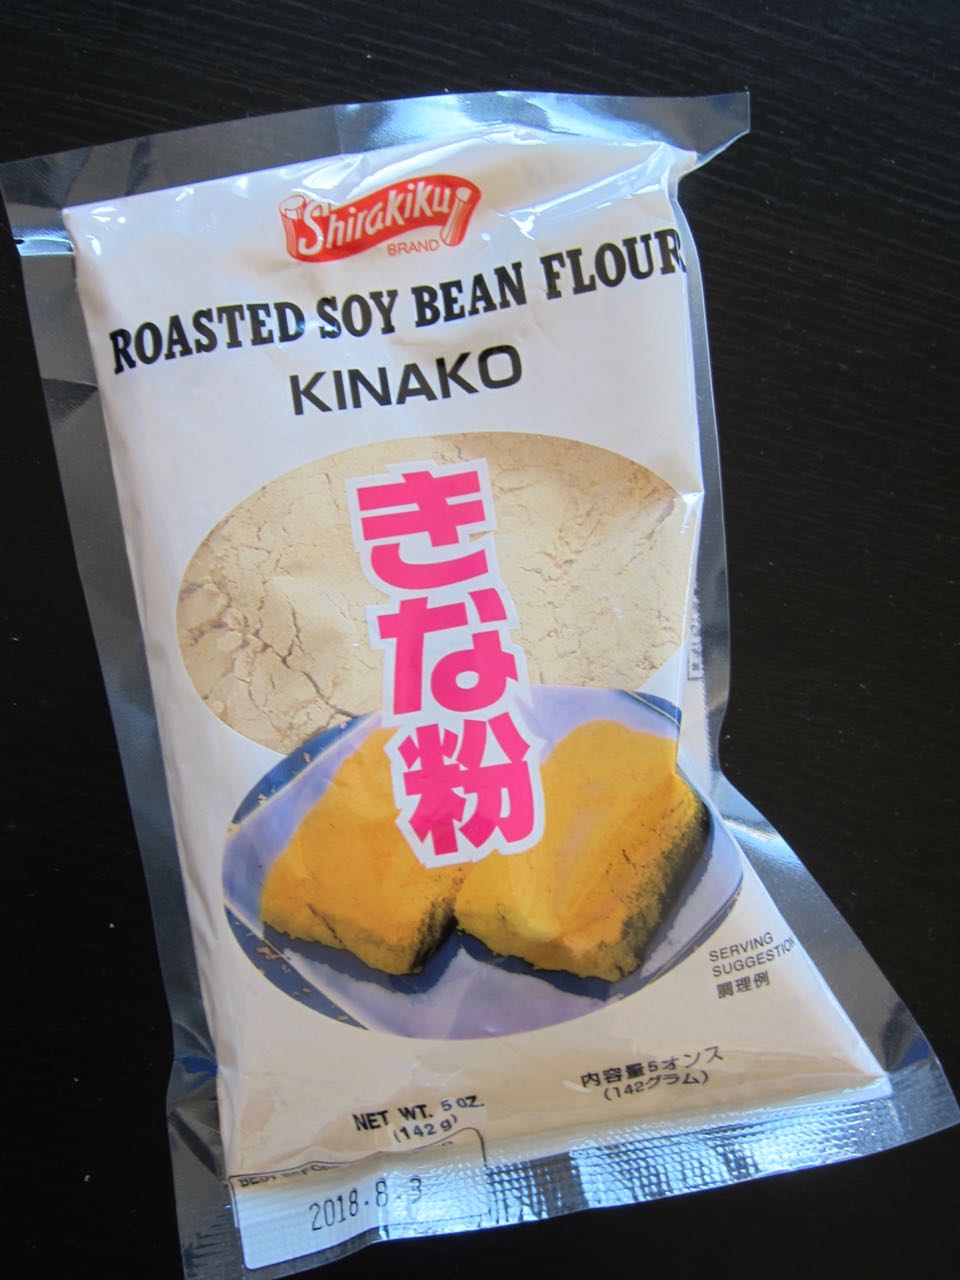
When I was in Kyoto, I discovered a sweet mochi-ish treat that was flavored with matcha and rolled in a nutty tasting flour, which I found out was soy, known as Kinako powder. The woman who settled me into my Ryokan told me that particular sweet was something only found in Kyoto, and so I bought a box of the treats and brought it home. A Google search tells me it was probably warabi mochi, but the box I bought turned out to be flavored with what I think was Ume plum, but definitely not matcha. 

Then, when I was walking around and freezing my face off in Tokyo, I stumbled across a Doughnut Plant, which angered me for two reasons, that 1) we don't yet have one here in SF yet Tokyo does, and 2) they weren't selling the creme brulee donut, my favorite. So I bought a matcha glazed donut, which was massive and actually had a little too much matcha for my liking. It was dark and bitter and dammit, I wanted creme brulee anyway.

So, by the time I got home, I was craving that matcha and kinako combination and a better donut. Why not combine all three? I remembered mochi donuts that I made a year or so ago, and decided to glaze them with matcha and sprinkle with kinako powder. 

This time, the matcha was just the right balance of bitter and sweet, and the kinako powder adds a nutty contrast, while underneath, the chewy, crispy, mochi donut holds it all in place. These are excellent. But eat them fast! They won't last.

kinako powder and matcha mochi donuts
glazing donuts
cutting mochi donuts.jpg
dipping donuts.jpg
matcha glaze.jpg
kinako powder.jpg
kinako powder and matcha glaze

Matcha-Glazed Mochi Donuts

Adapted from Lady & Pups

For the Starter:

  • 1/4 cup glutinous rice flour
  • 3 tbs whole milk

For the Dough:

  • 1 3/4 cup glutinous rice flour
  • 1/2 cup whole milk (reserve 1 tbs)
  • 2 1/2 tbs unsalted butter, melted
  • 1/4 cup granulated sugar
  • 1 egg
  • 1 tsp baking powder
  • oil, for frying

For the Matcha Glaze:

  • 2 1/2 tbs unsalted butter, melted
  • 1 tbs matcha powder
  • 1 cup powdered sugar
  • 3-4 tbs hot water
  • kinako powder, for sprinkling (optional)
  1. Make starter dough: mix rice flour and milk together in a small bowl and microwave one minute at 20 second intervals, stirring, until dough is cooked through. It will be opaque and very bouncy. Cool 5 minutes.
  2. Make dough: Add rice flour, remaining milk (minus 1 tbs), melted butter, granulated sugar, egg, and baking powder in a stand mixer fitted with the dough hook. Add the starter dough and knead on low until it comes together, then on medium until starter is completely blended in. The dough should be wet and sticky, add the remaining tbs milk if not.
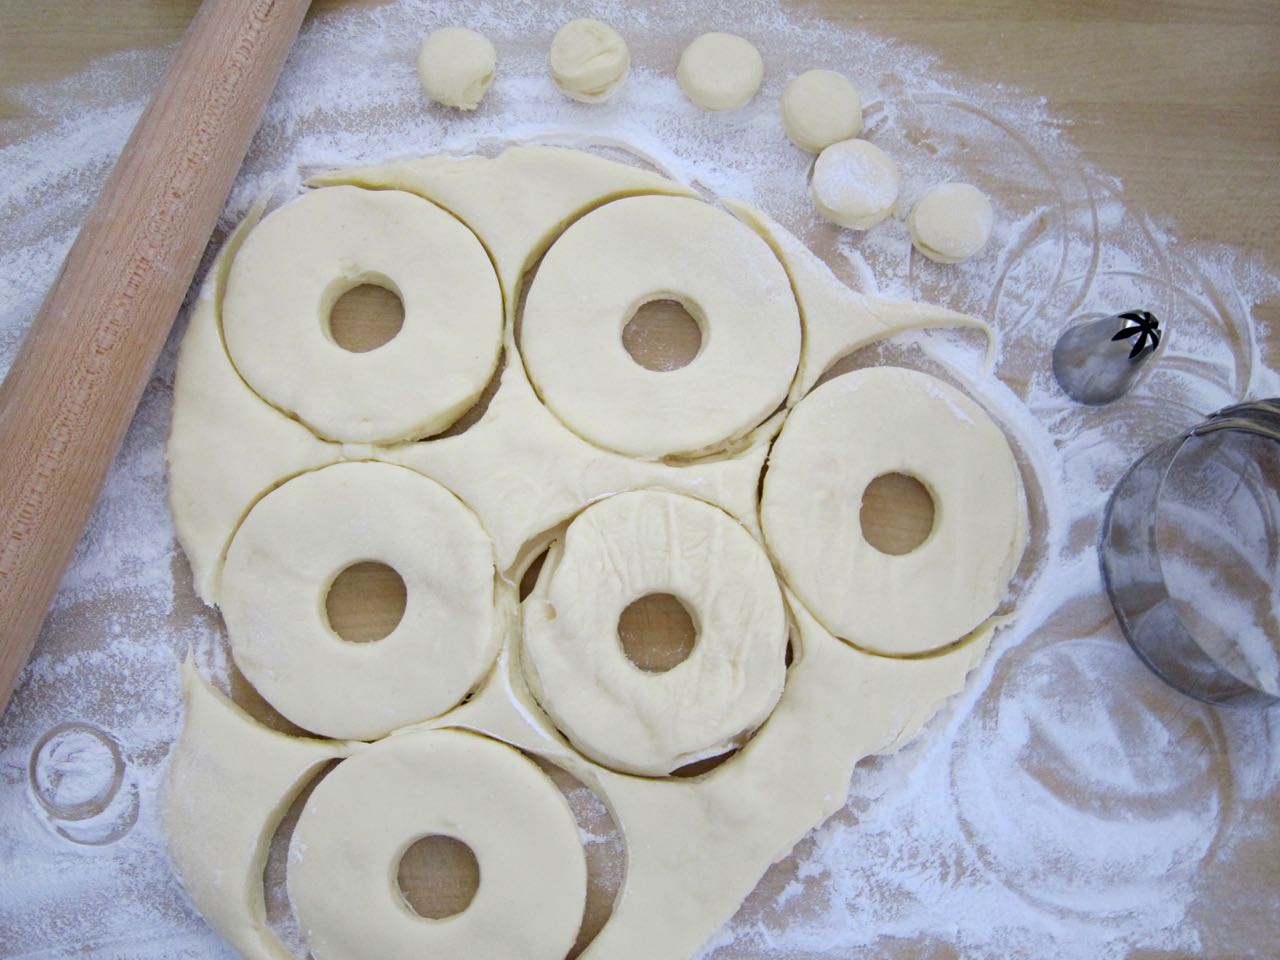
  3. Turn dough onto a surface dusted with more rice flour, sprinkle enough onto the dough to prevent sticking, and roll to 1/2 inch thick. Cut as many rounds as you can with a doughnut cutter or a round biscuit cutter (I used a piping tip to cut the center holes). Reroll, and cut more rounds. 
  4. Heat 1 1/2-2 inches of oil in a large, deep pot to 325 degrees. Drop doughnuts into the oil, they will sink and then float to the surface (you may need to use a long spoon or chopstick to help release if they stick to the bottom of the pot). Fry on each side for a few minutes, until puffed up and golden brown. Drain on a rack.
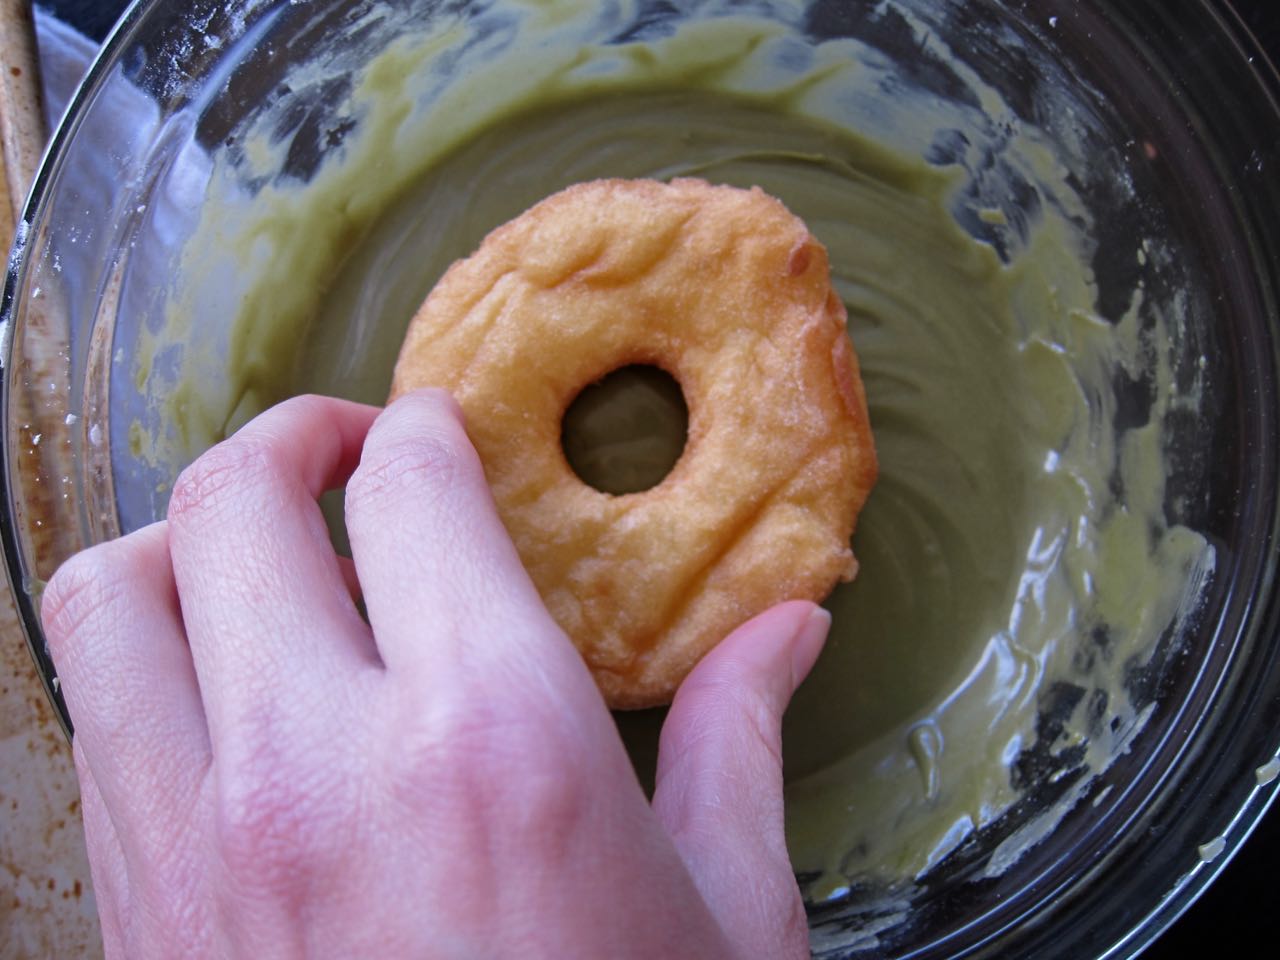
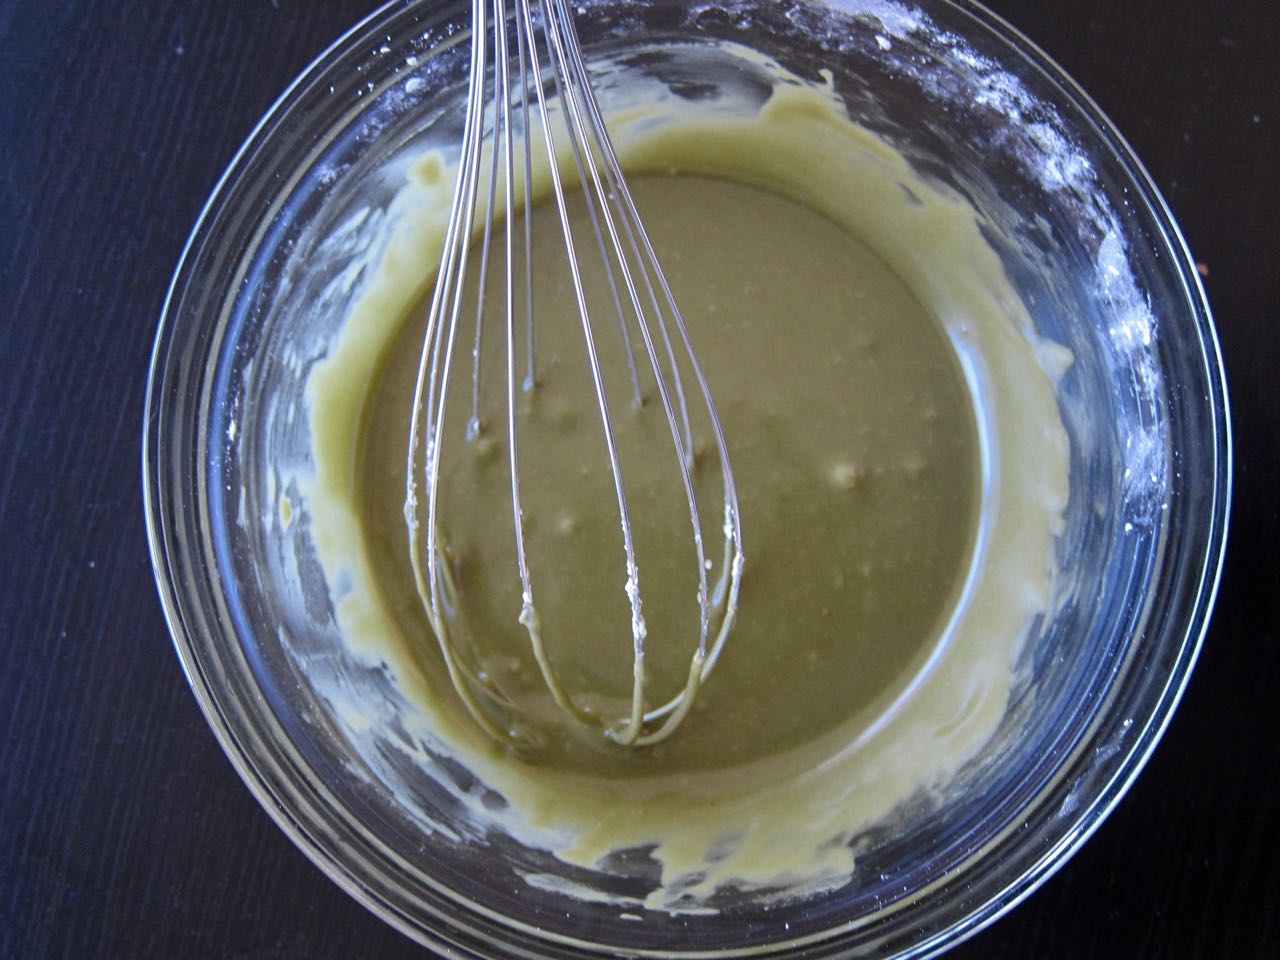
  5. Make the glaze: Whisk the melted butter and matcha together in a small bowl. Add the sugar and  hot water as needed to form a glaze. Dip one side of each donut into the glaze, and sprinkle on kinako powder, if using.

Β 

In Recipes Tags Breakfast, Dessert
Comment

Mimosa Cake

March 2, 2018 Allie
Mimosa Cake

It's getting to the point where I've pushed enough cakes on my friends at various social gatherings that they are starting to realize I know how to bake. And upon this realization, we are starting to shift from my forcing them to try various experiments to them asking me to bake cakes for certain occasions.

This is hugely flattering and thrilling, but also extremely terrifying. If I bake and decorate a cake for this blog and it doesn't come out well, then I don't have to post it (sometimes I do anyway). If I bake and decorate a cake for a friend's birthday and it doesn't come out well, then they don't have a birthday cake. It's slightly stressful, to say the least.

Recently, my friend Christiana asked me to make the cake for her bridal shower. This was very clever on her part, because she started by half-seriously asking me to make her actual wedding cake. This request predictably and understandably sent me into a mild panic before she sensibly went with a real bakery. But that meant that when she asked me to make the less important shower cake, I was so relieved I said yes. It was like that classic trick of asking your parents to take you to Italy and then settling for Olive Garden because all you really wanted were garlic breadsticks. She got me good.

And then I had to consider, what was I going to make? There were no real guidelines other than "make something that tastes good", which, duh, and "I like roses". So, after two successful goes with the pink champagne cake, I decided to riff on that and attempt a mimosa cake, because it would be delicious, and the bride does love her a mimosa or two. But the roses? I'd discovered what a pain real flowers can be on a cake with this floral explosion, and I wanted everything to be edible, so I knew I'd be doing frosting roses. 

The only problem? I've never made frosting roses! I had the tools to do them, thanks to my Christmas present from Ginny, but I wasn't sure I had the skill or the patience to learn, no matter how fun Molly Yeh makes it look. But I wasn't going to let Christiana down, so I spend a solid Saturday making rose after rose after rose, before I finally had a bunch of roses I was happy with, and a bunch I could at least call "flower shaped". I was also well on my way to carpal tunnel, but I can worry about that later.

Considering I had to chug some of the leftover champagne before I could let myself decorate, I think in the end it all came out stunning, if I'm allowed to say that.  I impressed myself, at least! I nestled dried cara cara orange, blood orange and tangerine slices between the roses and filled it all in with mint leaves, for a jewel-toned, wintery citrus effect that I LOVED. It is my favorite cake that I've ever decorated by far. And the flavor? That was pretty amazing too! The champagne comes through so well in this cake to help cut the massive amount of sugar in the frosting, and the orange zest and curd laced throughout brought just the right floral, orange note, just like a good mimosa! 

I had to tell some of the ladies at the shower that I don't take orders, this is just a hobby, but I don't know, should I start?

winter citrus mimosa cake
mimosa cake close up
decorating mimosa cake
sliced blood and cara cara oranges.jpg
plain frosted mimosa cake.jpg
making frosting roses.jpg
cake filled with orange curd.jpg
sliced tangerines.jpg
sliced mimosa cake.jpg
Mimosa cake at party

Mimosa Cake

I based the cake off the doubled recipe for the Pink Champagne Cake, left out the pink coloring and added orange zest to the cake and frosting and some orange curd to the filling. The orange curd is adapted from Erin McDowell, with a little lemon juice added for brightness. This recipe makes good use of ingredients. Use your egg yolks for the curd and the whites for the cake, and using three oranges for all the zest and juice needed for the various parts.

For the orange curd:

  • 3 oz unsalted butter
  • 5 egg yolks
  • 1/2 cup sugar
  • 1/2 cup fresh orange juice (about 3 oranges)
  • 1/2 tbs orange zest (from one large orange)
  • 2 tbs lemon juice
  • pinch of salt

For the cake:

  • 3 cups cake flour
  • 1 tbs baking powder
  • 1/2 tsp salt
  • 6 large egg whites, room temperature
  • 1 cup brut champagne, room temperature
  • 2 tsp vanilla
  • 2 tbs vegetable oil
  • 2 cups granulated sugar
  • zest of 1 large orange (about 1/2 tbs)
  • 2 sticks (1 cup) unsalted butter, room temperature

For the buttercream:

  • 4 sticks unsalted butter, room temperature
  • 6 cups powdered sugar, sifted, plus up to 2 cups more if needed
  • 5 tbs brut champagne (room temperature)
  • 1 tsp vanilla
  • zest of 1 orange (about 1/2 tbs)
  1. Make the orange curd: Melt 4 tbs of the butter in a saucepan over medium heat. In a bowl, whisk together egg yolks, sugar, orange juice, orange zest, lemon juice, and salt. Slowly whisk in the melted butter, then pour the mixture into the saucepan over medium low heat. Cook, stirring constantly, until thickened, about 8 minutes. The mixture may still seem thin but should coat the back of a spoon. Remove from heat and stir in the remaining butter. Strain into a shallow container and chill with plastic wrap pressed against the surface, at least 2 hours, but overnight is best. You will probably have leftover curd, but it's ok! Add it to berries, yogurt, toast, scones, whatever.
  2. Make the cake layers: Place rack in center of oven and heat to 350 degrees. Butter and flour three, 8-inch cake pans.
  3. Sift together flour, baking powder, and salt in a medium bowl and set aside.
  4. In a large bowl, add the egg whites, champagne, vanilla and oil and whisk to combine well. Set aside.
  5. In the bowl of a stand mixer, rub the sugar and zest together until sugar is moist and very fragrant. Beat sugar and butter for 3-4 minutes on medium speed until light and fluffy. Add the flour mixture and the egg white mixture, alternating, starting and ending with the dry mix. Scrape down sides of bowl as needed. Divide the batter between pans.
  6. Bake, 23-27 minutes, until cakes are just beginning to pull back from the sides of the pans. Cool on a rack for 10 minutes, remove from pans and cool 30 minutes, or until completely cooled.
  7. Make the frosting: beat the butter on medium speed in the bowl of a stand mixer until creamy, about 1 minute. Add 6 cups powdered sugar, champagne, and vanilla and beat to combine. If needed, add more powdered sugar to make the frosting thicken and become more spreadable. Sprinkle in the zest and beat frosting to fluffy, 30 seconds on medium-high. 
  8. Assemble cake: Level tops of cake layers. Stack layers, spread with a thin layer of 1/2 cup frosting between each and a thin layer of the orange curd. Decorate cake with remaining frosting and any extra decorations as desired (see note). Extra cake can be stored tightly wrapped in plastic in the refrigerator.

Notes:

  • I only spread a thin layer of curd between the cake layers, because my curd wasn't very thick. If you do end up with a thicker curd, you can pipe a frosting dam around the outside of the layers and fill with more curd, for a more prominent presence in the cake.
  • For frosting roses, you can make a smaller batch of the buttercream recipe above, omitting the zest and adding more powdered sugar to make a very stiff frosting. Use a piping bag, a flower nail, and a Number 104 tip to make roses, dyed whatever color you wish. For the orangey peach on my cake, I used a mix of Orange and Yellow gel coloring. I found this and this video to be the most helpful.
  • For the dried citrus slices, cut fruits to 1/4 inch slices or even slightly thinner, then bake on a wire rack set over a baking sheet in a 170-200 degree oven for 6 hours, rotating the sheets every 2 hours. They should still be a bit pliable, or if not, they will be after storing in an air-tight container for a few days. You can then arrange them how you want on the cake, cutting as needed to bend around the roses.
  • If you are adding decorations, reserve 1/3 cup frosting for "glue" before filling and frosting the cake.
  • If you use fresh mint for "leaves", make sure not to add it before the day you are presenting the cake. I had to transport the cake the day before the event and store it in the refrigerator overnight, and my fresh, springy mint wilted a bit.

Β 

In Recipes, Allie Dreams of Cake Tags Dessert
2 Comments

Salad Tacos with Chipotle Baked Tofu and Jalapeno Cilantro Cashew Dressing

February 27, 2018 Allie
salad tacos with jalapeno cashew dressing

I put salad in a taco!

It's fantastic, like a taco salad you can pick up and eat with your hands.

No meat filling, just the lettuce you would normally add on top, all jazzed up with goodies like pumpkin seeds, corn, roasted red pepper, and for a kick, some tasty chipotle baked tofu. The whole salad comes tossed in a creamy, spicy jalapeno cilantro dressing and then gets shoved into some crispy taco shells, party platter style. You could of course build these on smaller scale if you aren't feeding more than a couple people, but I like the look of them all stacked up.

You could fry up your own tortillas for truly spectacular taco shells here, but I took the easy way out and used the shells from a box. Just make sure to wake them up in the oven with a little salt first, it really makes all the difference between crispy tacos and cardboard!

It all comes together as a tasty, healthy, and meat-free dinner or lunch. With the cashew dressing it's even vegan, if that's important to you. I like to think of these as a light vacation from guilty-pleasure tacos, but without sacrificing the flavor. 

Happy Taco Tuesday!

cashew salad dressing ingredients.jpg
salad taco toppings.jpg
marinating tofu.jpg
jalapeno cashew salad dressing.jpg
filling salad tacos
dressing salad tacos
two salad tacos

Salad Tacos

  • 1 block firm tofu
  • 2 tbs chipotle flakes (or 1-2 chipotles in adobo, finely chopped)
  • 1 /4 cup olive oil
  • 1/2 tsp cumin
  • juice of 2 limes, divided
  • salt
  • 1/4 tsp black pepper
  • 1/2 cup raw cashews, soaked at least 4 hours or overnight
  • 1 jalapeno seeded and sliced thinly
  • 2 tbs cilantro, chopped
  • zest of 2 limes
  • 1 head of romaine lettuce, very thinly sliced
  • 1 cup frozen corn, thawed
  • 1 roasted red bell pepper, diced
  • 1/4 cup cilantro, torn
  • pepitas, toasted
  • pickled jalapenos (optional)
  • 12 taco shells
  1. In a bowl, mix together chiplotle flakes, oil, cumin, half the lime juice, 1 tsp salt and black pepper and whisk to combine. Cut tofu into 8 equal slices and toss coat with the marinade. Set aside in the marinade for 30 minutes. 
  2. Make the dressing: in a blender, combined the softened cashews, remaining lime juice, 1/2 the jalapeno, 2 tbs cilantro, and lime zest and blend with enough water to make a smooth, creamy, pourable dressing. Taste and add salt as needed and remaining jalapeno if you want to make it spicier. Set aside.
  3. Heat oven to 375 degrees, then bake marinated tofu on a parchment lined baking sheet until browned, about 20 minutes. Let cool then cut into cubes or strips.
  4. Lay out taco shells on another parchment lined baking sheet and sprinkle insides with a little salt. Crisp in the warm oven for about 5 minutes. 
  5. Meanwhile, in a large bowl, add romaine, corn, bell pepper, cilantro, tofu and pepitas and toss with a few spoonfuls of the dressing, to taste. Pile into the warmed taco shells and drizzle with more dressing and garnish with pickled jalapenos, if using.
In Recipes Tags Main Dish
Comment
← Newer Posts Older Posts →

For those who plan their next meal while eating the last.

Β 

INSTAGRAM

🎢When pizza’s on a bagel*, you can have pizza anytime**!🎢

*donut
** after you fry some donuts
FINALLY perfected these Burnt Honey Butter Biscuits & what good timing! It’s carb season & we are all hibernating! 🐻
Final thoughts on Small Thanksgiving: take your sweet potato + marshmallow combo firmly into dessert or even breakfast, and consider a cozy mashed potato soup with stuffing croutons to use up those leftovers. Stay safe & Happy Thanksgiving! πŸ˜·πŸ¦ƒ
Part 2 of Small Thanksgiving: all the stuff to stuff yourself with! An Italian sausage pasta-inspired stuffing and a vegetarian, spiced wild rice stuffed squash. Everything serves 4-6, gather safely this year! πŸ˜·πŸ¦ƒ #thanksgiving #smallthanksgiving #v
Now that we (and the world?) can let out that collective sigh of relief, I can  finally think about my favorite holiday! Everyone is probably (hopefully 😷)looking at smaller gatherings this year, so I’m sending some Small Thanksgiving ideas ou
So happy Disney keeps justifying my dumb baking purchases! This matcha shortbread is delicious, but make a good sandwich cookie it does not. I hid all the broken pieces πŸ™ˆ
Subscribe to Tea and Fog!

RECENT RECIPES

Featured
polenta with rosemary and goat cheese.jpeg
Salmon Wellington and Warm Rice Salad.jpeg
Pizza Donut Hero.jpeg
Burnt Honey Butter Biscuits.jpeg
Mashed Potato Soup with Stuffing croutons.jpeg
sweet potato donuts with marshmallow frosting.jpeg