I love potato salad. I love it warm, I love it cold. I love the gloopy, mayo drenched stuff from the grocery store, veggie heavy versions tossed in vinaigrette, or potato salads dressed in goat cheese. Whatever version you present me with, I will try it.
What I hadn't ever had was potato salad made with roasted potatoes, and once I got the idea in my head it was hard to let go. After all, roasted, crispy potatoes are delicious, and sauces are delicious, and I saw no reason they wouldn't be delicious together.


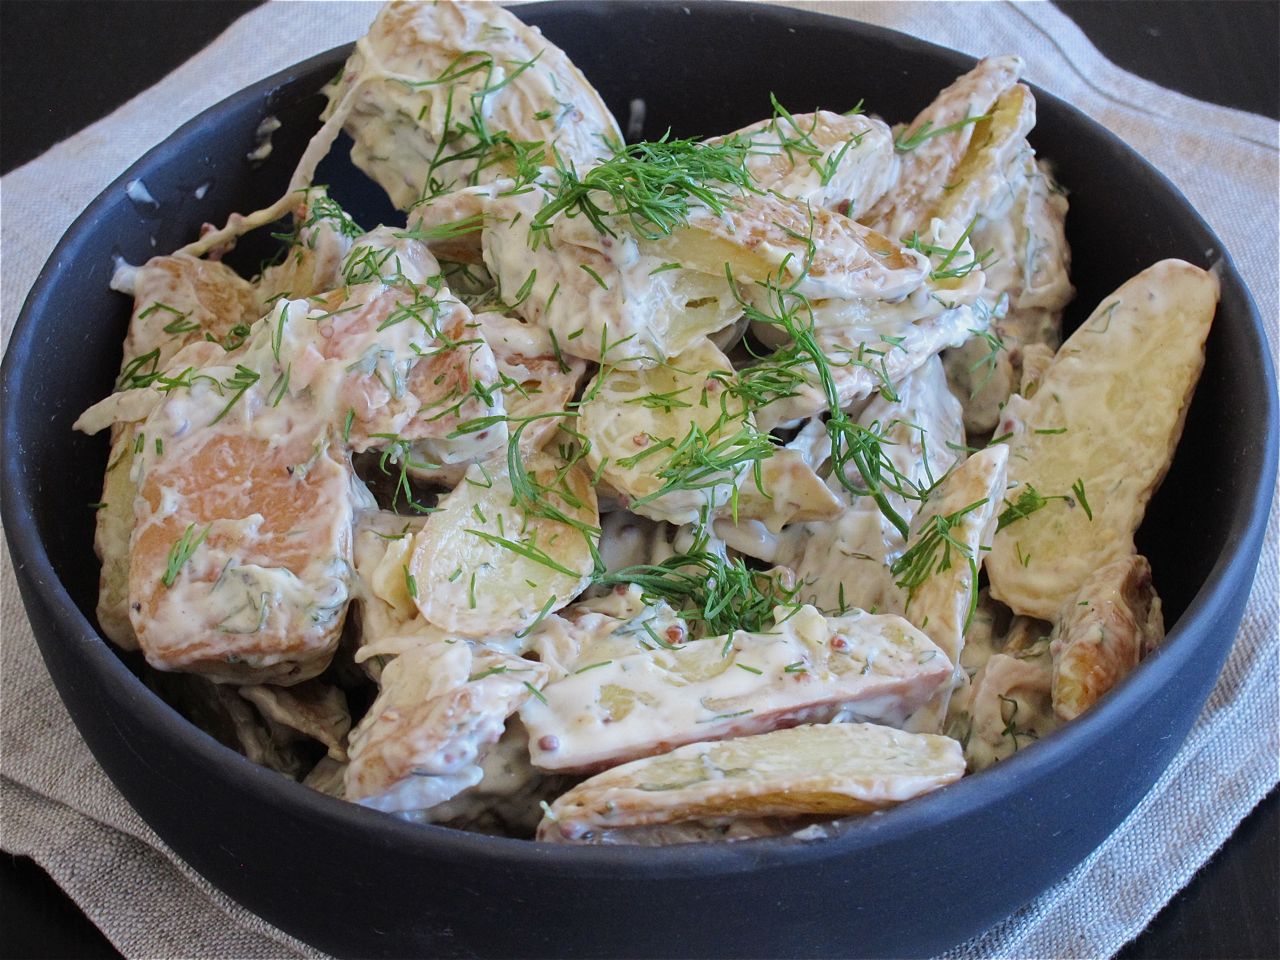
This stuff isn't pretending here. The potatoes are the star of the show, with not another vegetable in sight to give a veneer of virtue. There is a generous use of mayo, tempered only by the sharp bite of two kinds of mustard, all finished with fresh dill and shallots for oomph. It all comes together as a creamy, tart dish with the surprise of some crunch and chew from the potatoes, and I don't think I'm going back to boiled or steamed potatoes after this.
Roasted Potato Salad
3 lbs fingerling potatoes
salt and pepper
1/8 cup olive oil plus more for roasting
1/2 cup mayonnaise
1 large shallot, thinly sliced
1/4 cup fresh dill, chopped
1 tbs whole grain mustard
1.5 tsp dijon mustard
juice of 1 lemon
- Heat oven to 425 degrees. Cut potatoes in half lengthwise, or quarter any extra large potatoes and leave tiny ones whole. On a baking sheet, toss with a drizzle of olive oil and season liberally with salt and pepper. Roast 30-45 minutes, until crispy and golden and the largest pieces are easily pierced with a fork.
- While potatoes are roasting, stir together all remaining ingredients. When potatoes are done, toss with the dressing and taste for seasoning, adding more salt if necessary. Serve immediately or at room temperature or chilled.


